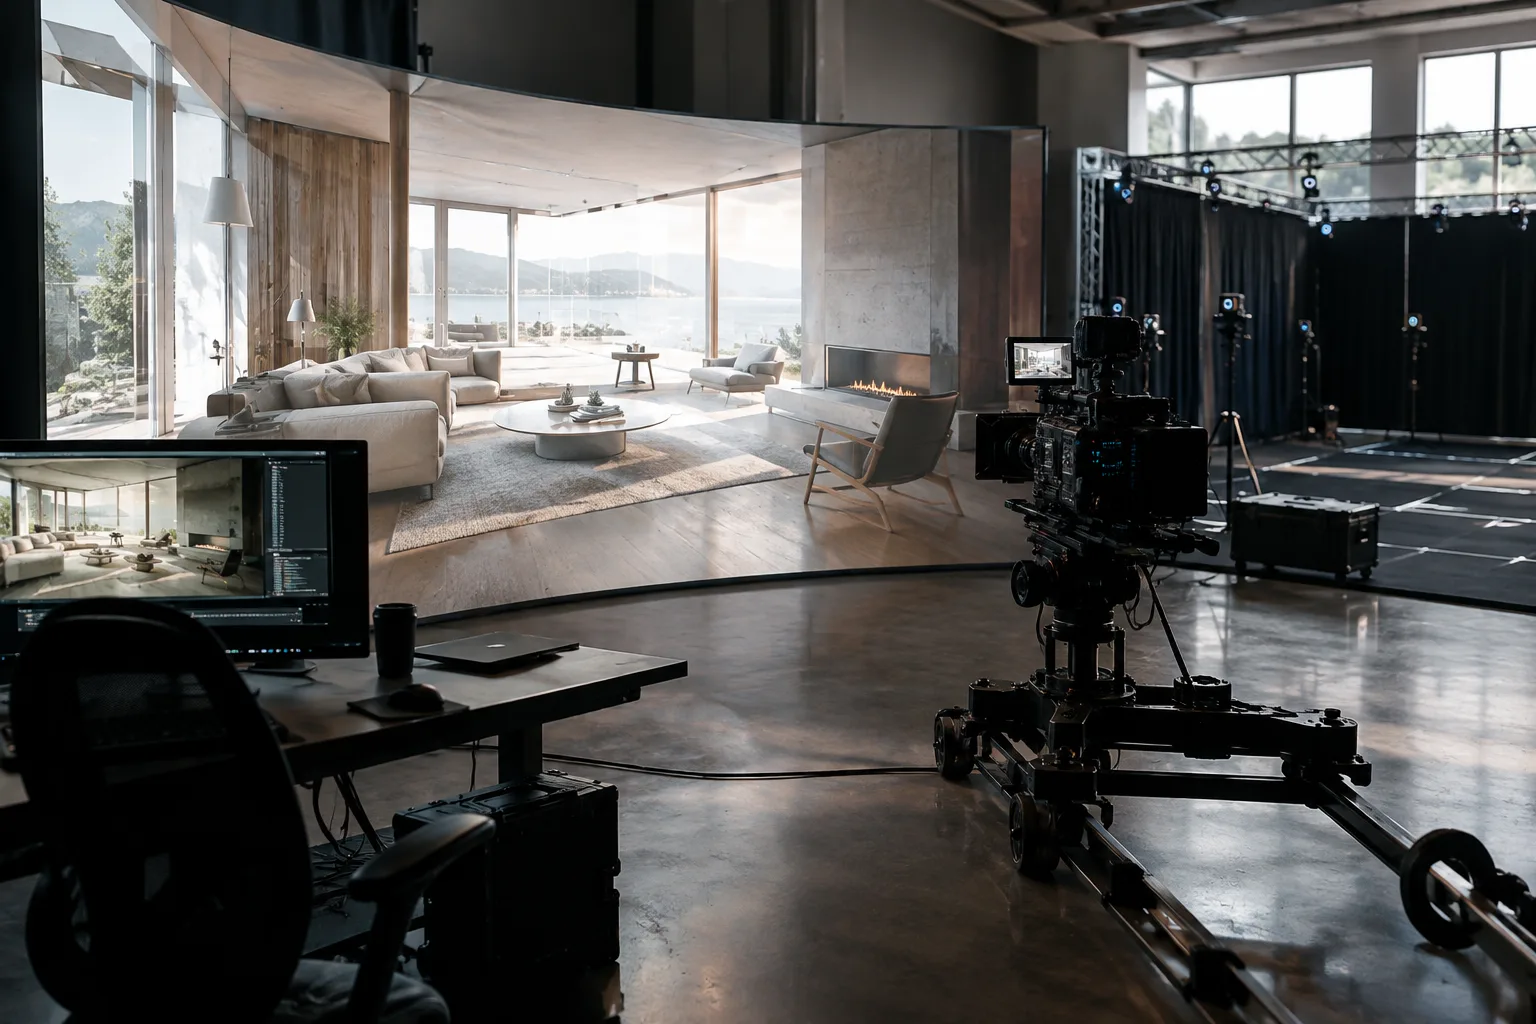
In brief
- Live Link can bring camera, light, character, and transform data from external sources into Unreal Engine.
- Take Recorder can use level actors or Live Link sessions as recording sources.
- Recordings are associated with Sequencer, and multiple takes can be created for the same scene.
- Before using Take Recorder, enable the plugin and restart Unreal Engine.
What will you learn in this guide?
Live Link is an interface for sending animation data from other applications or devices to Unreal Engine. This data can include camera, light, character, and transform streams. Take Recorder lets you record in-game animation, live performances, and other sources in Unreal Engine, then manage them in Sequencer.
In this guide, you’ll enable the required plugins, check a Live Link source, and record with Take Recorder. You can also record actors in the level without using Live Link. To receive data from an external application, that application must be set up to send data to Unreal Engine through Live Link.
Requirements
You’ll need an Unreal Engine project containing a playable character and actors to record. Alternatively, you can use a project created with the Third Person Template.
The Take Recorder plugin must be enabled. If you’re receiving external motion or animation data, the Live Link plugin must be enabled as well.
To receive data from an external source, it must be configured to send data to Unreal Engine through Live Link. Integration details depend on the source being used.
If you have multiple network adapters, check which adapter the Message Bus Source will use. If needed, specify a Unicast Endpoint in the UDP Messaging settings.
Before opening Take Recorder, go to Edit > Plugins in the main menu. Find and enable the Take Recorder plugin, then restart Unreal Engine for the change to take effect. If you’re receiving data from an external source, enable the Live Link plugin in the same window. According to the Take Recorder documentation, enabling the Live Link plugin also requires a restart.
Set up the Live Link connection
After enabling the plugins, open the Live Link Connection window via Window > Live Link. Here, you can manage sources and the subjects they send.
Click + Source and select an available source type. The external application you want to connect must already be set up to send data to Unreal Engine. If the source doesn’t appear, first check the integration on the sending side.
In the Subjects panel, inspect the incoming stream’s name, role, and status. A subject can include a name, unchanging static data, and frame data such as skeletal or bone transforms in the animation role. Live Link supports roles including Cameras, Lights, Characters, Transforms, and the general-purpose Basic role.
If you’re using multiple network adapters, be aware that the Message Bus Source’s default selection may cause connection issues. To direct it to a specific adapter, set Unicast Endpoint under Edit > Project Settings > UDP Messaging. In the example in Epic’s guide, adding
:0to the end of the selected adapter’s address lists all ports.If needed, adjust the subject’s evaluation and processing settings. Live Link can evaluate incoming data using the latest frame, use Engine time, or synchronize it with an appropriate timecode. Don’t use the timecode option unless a timecode provider is set up in the Engine. You can also assign pre-processors, interpolation methods, or translators that convert the data to another role.
You can use Live Link not only to monitor a stream but also to drive an actor. A subject from the source can be connected to an actor using components such as Live Link Controller. For animation, the source guide recommends using the Live Link Skeletal Animation component instead of Live Link Controller. To transfer animation at runtime, you need to set up the Live Link Pose node in the Animation Blueprint.
Record with Take Recorder
Open the recording panel via Window > Cinematics > Take Recorder. If no sequence is open, Take Recorder creates a new, empty sequence. The panel lets you edit details such as the recording name and take number, description, frame rate, recording rate, and marked frames.
Add a recording source using the +Source button in the Sources section. Options include an actor in the level, Camera Cuts, Level Sequence, or a Live Link session. You can also add a source by dragging an actor from the Outliner into the Source panel.
If you’re using Live Link, add the session via Add Source (+) > From Live Link, then enter the name of the subject to record in the Subject Name field in the source details. The Use Source Timecode option lets you choose the subject’s timecode or system time. Enable Save Subject Settings if you want to preserve the subject settings.
Add a Camera Cuts source to include camera transitions in the recording. This source records the active cameras during recording; when the active camera changes, it creates a new camera actor and camera cut section. Before recording, make sure the sources are enabled and the selected source contains properties that can be recorded.
Set the name and number in the slate and take fields; edit the description, frame rate, and recording rate if needed. During recording, you can add a marker for the current moment with Add Marked Frame. To start, press the Record button in the Take Recorder window or in Sequencer’s playback controls. Press the button again or use the Esc key to stop; the current take is saved when recording stops.
After recording, review the last take using Review Last Recording. You can create new takes to produce different variations of the same scene or action. For Take Recorder to record a source, that source must have a recorder and a corresponding track that Sequencer can play. An actor property that can’t be keyed can’t be added as a recording track.
Common issues
If an invalid source indicator appears instead of the Record button, Take Recorder hasn’t found a valid recording source. Check that the correct actor or Live Link subject is selected in the Source panel, that the source is enabled, and that the Live Link session is sending data. The status indicator in the Live Link panel can help you monitor the connection and incoming data.
If the take number has already been used, Take Recorder displays a warning. Clicking the warning advances the number to the next available value. If the recording doesn’t look as expected, check whether the source properties can be keyed and whether the selected source points to the correct subject.
On computers with multiple network adapters, Message Bus Source may use the first adapter it finds by default. If data is coming from a specific network interface, review the UDP Messaging settings in Project Settings. UDP Messaging isn’t enabled by default in a packaged game. Epic’s documentation specifies the -messaging parameter for enabling it and notes that shipping targets aren’t supported.
Use in architecture and visualization workflows
This approach can be useful for visualization teams that want to track motion from an external camera or animation source in Unreal Engine and edit it afterward. Camera data can be received through Live Link, and camera movement and cuts can be recorded in Sequencer with Take Recorder. Alternative shots for the same scene can be managed as separate takes.
When planning the workflow, consider whether the external application can send Live Link data, how network adapters are configured, and whether the properties to be recorded can be played back in Sequencer. The restart required to enable plugins should also be factored into setup. The source documents don’t specify any particular hardware requirements or pricing information.
Next steps
Start with a short test recording using an actor, then expand the workflow by adding a Live Link subject and a Camera Cuts source. Once recording is complete, review the result in Sequencer and organize the required shots as separate takes. If you’re transferring character animation, also verify the Live Link Pose setup in the Animation Blueprint. If you’re driving a camera or another actor, check the relevant subject and component connections.
Sources and license
This guide has been adapted into Turkish based on information in Epic Games’ Unreal Engine Live Link and Take Recorder documentation. Both sources are Epic Games developer documentation listed as freely licensed.
Sources
2 sourcesSource texts are not republished; short quotes are marked, everything else is our own summary and commentary.
For architecture and visualization teams, the practical value of this workflow lies in being able to record external camera or animation data in Unreal Engine and review it in Sequencer. It can be particularly useful for organizing and comparing alternative camera movements and takes.
For offices and students in Turkey, starting with a small test in an existing project is a practical way to check whether the Live Link source and recording workflow work as expected. The sources don’t specify pricing or hardware requirements, so when assessing costs and hardware, the project, external source, and plugin compatibility should be reviewed separately.
Frequently asked questions
How do I enable Take Recorder in Unreal Engine?
Enable the Take Recorder plugin from Edit > Plugins and restart Unreal Engine. Then open the panel via Window > Cinematics > Take Recorder.
Can Take Recorder record Live Link data?
Yes. You can add a Live Link session as a source and specify the subject to record in the recording details. The Live Link plugin must also be enabled.
How do I stop a Take Recorder recording?
Press the Record button again or use the Esc key to stop recording. Take Recorder saves the current take when recording stops.