In brief
- Volume Scatter describes how light scatters in different directions off particles inside a volume.
- Connect the node’s Volume output to the Volume input of the Material Output or World Output node.
- Density affects the amount of interaction with light, while anisotropy affects the direction of scattering.
- A mesh used as a volume must be closed and manifold, with outward-facing normals.
What will you learn in this guide?
Volumetric fog and smoke in Blender are created not just with surface color, but by controlling how light changes as it passes through a volume. The Volume Scatter node is one of the core tools for scattering light within that volume. This guide walks through connecting the node to a material, how density and anisotropy affect the image, and what to consider when using a mesh as a volume.
Volumetric effects can help depict light beams, atmospheric depth, or smoke in interior visualizations. However, these effects depend on how light behaves in the scene. So it’s important to check not only the volume node, but also the geometry and how it interacts with the scene’s lighting.
Requirements and version notes
To follow along, you’ll need Blender and a scene where you can connect a volume shader to a material or world output. Blender’s 2.91 manual explains how to create effects such as smoke and fire using a volume object or fluid simulation, and how to remove the default surface shader and use a volume shader instead. The current Volume Scatter manual also shows the node’s output connected to the Volume input on the Material Output or World Output node.
The reference manuals do not specify hardware requirements. Since the 2.91 document and the current Volume Scatter manual are not presented in the context of the same version, check the node and render options in your current Blender version as well. The method here is limited to the node connections and volume behavior described in the sources.
Create a fog volume step by step
Decide where the volume should appear in the scene. If fog should be visible only in a specific area, you can use a mesh volume around the scene. The Blender manual notes that for fog or atmospheric scattering, creating a volume object around the scene may be more suitable than filling the entire world with a volume. The volume’s size affects how far light travels as it scatters or is absorbed.
Add a Volume Scatter node. This node describes how light passing through the volume scatters in other directions. Connect the node’s Volume output to the Volume input on the material’s Material Output node. If you want to apply the effect to the world instead of a material, connect the same output to the Volume input on the World Output node.
Set Density as a starting point. Density determines the strength of the scattering effect. The Blender manual describes density as a key value that determines how much light interacts with the volume: this interaction can cause light to be absorbed or scattered. Start with a low value and observe the result; compare the image as you increase the density. There is no single ideal value, because the scene scale and lighting setup affect the result.
Use Color to define the appearance of light in the volume. The Color input on the Volume Scatter node defines scattering coefficients for each color channel. If you want a neutral fog, start without pushing the color too far. For goals such as colored glass or a pronounced color effect, consider the color choice in relation to the rest of the scene. A Volume Absorption node can also be used to absorb some of the light; the Blender manual notes that Volume Absorption and Volume Scatter can be used together.
Test anisotropy in relation to the scene lighting. Anisotropy controls which direction light is more likely to scatter in within the volume. A value of zero means light scatters equally in all directions. Positive values increase forward scattering, while negative values increase backward scattering. For example, uniform scattering can be a starting point for smoke; if you want a pronounced effect in the direction the light is traveling, compare positive and negative values. Evaluate the result in relation to the light source and camera, not just the value itself.
Check the volume mesh. If you’re using a mesh to create the volume, the geometry should be closed and manifold, with no holes or invalid face connections. Also check that the normals point outward. According to the manual, incorrectly oriented normals or holes can make it difficult for the render engine to distinguish the inside from the outside of a volume. Changing shader values repeatedly without checking the mesh makes it harder to find the source of the problem.
Compare render results in stages. First, render a basic result with the volume object visible, then change the Density, Color, and Anisotropy values one at a time. If you change several parameters at once, it becomes harder to tell which setting affected the image. Keeping the lighting and camera setup fixed for each test makes comparisons more meaningful.
Common mistakes
Filling the entire scene with a world volume: A world volume covers all of space. Blender’s 2.91 manual explains that this can be useful, especially in dark scenes, but that a volume object around the scene may be more suitable for effects such as fog or atmospheric scattering. When using a world volume, the world surface shader or sun lights may not have the expected effect.
Overlooking gaps in the mesh: Holes or incorrect normals in a volume mesh can disrupt the distinction between inside and outside. First make the geometry closed and manifold, then return to the shader settings.
Treating anisotropy as just a brightness control: This setting changes the direction in which light scatters. Take the light direction into account when changing the value; the same setting can produce different results with different lighting setups.
Ignoring render times: Multiple scattering in volumes can produce more realistic results, but additional light bounces can increase render times. Blender’s 2.91 document notes that volume bounces are set to zero by default in Cycles and that Eevee does not support them. This information is specific to the context of that 2.91 manual; check how the version you’re using behaves in your current project.
Using volumes in architectural and archviz workflows
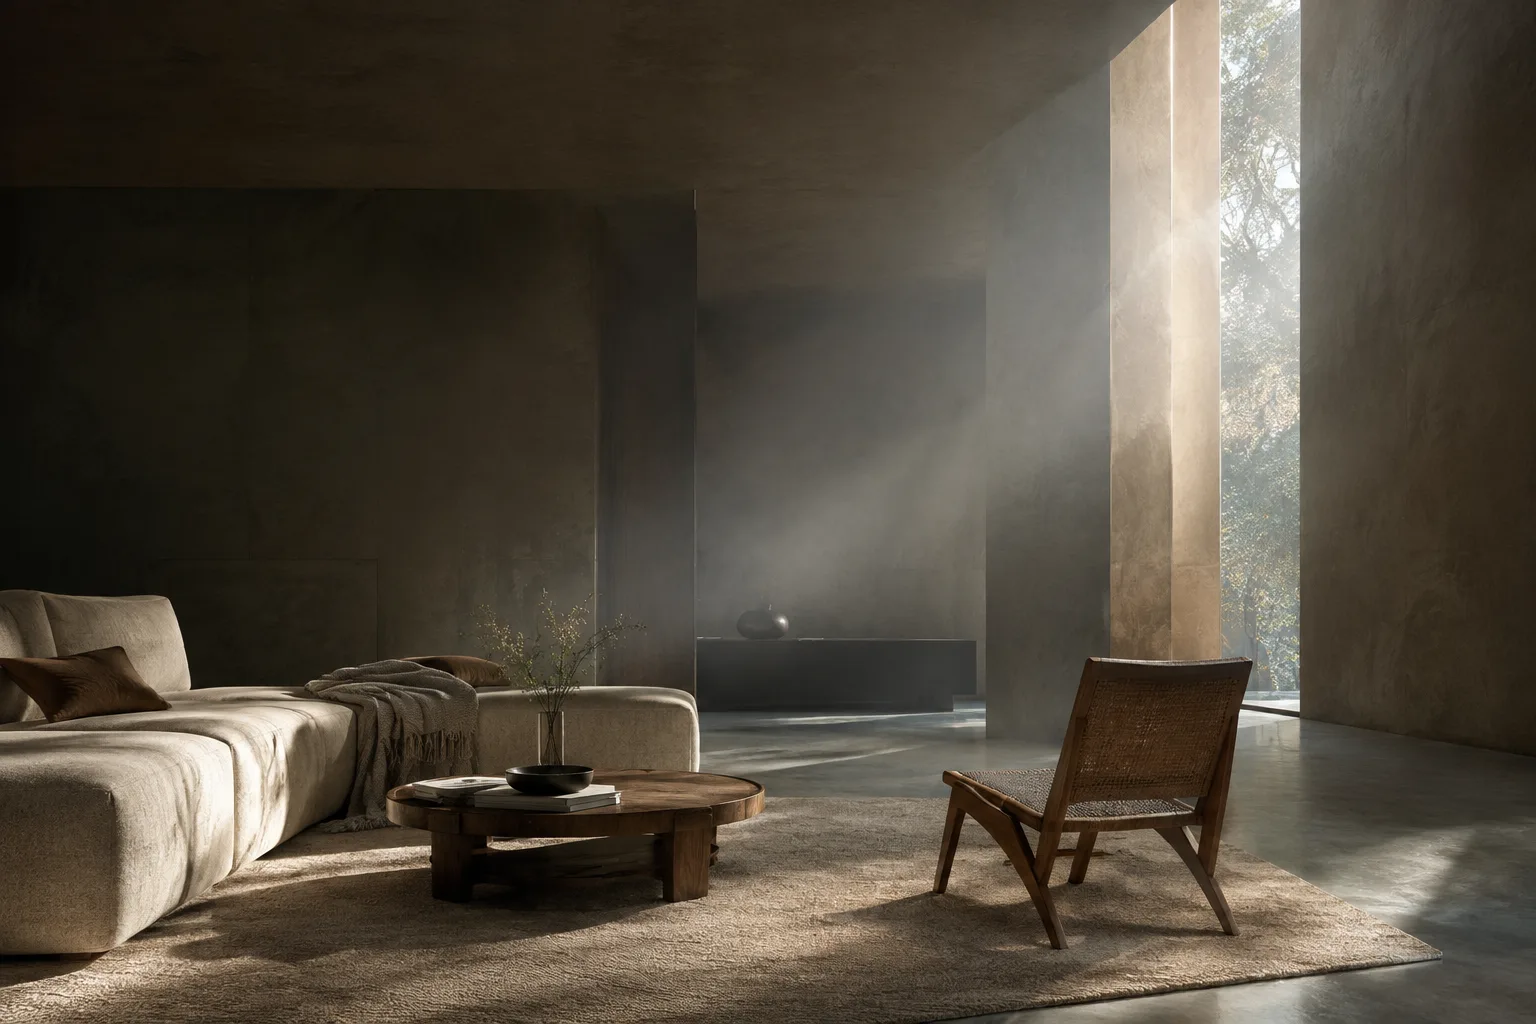
In interior visualizations, volumetric fog can be used to emphasize light beams and spatial atmosphere. However, rather than using dense fog in every shot, a more controlled approach is to first determine where and with which light source you want the effect. For small scene details, a local mesh volume may be easier to manage than an effect that fills the entire world.
Render times and version compatibility are especially important for animation or projects with a delivery schedule. The sources note that multiple scattering can increase render costs, so it’s useful to run short comparisons before carrying final settings over to production renders. Since the sources do not specify hardware requirements or costs, it is not possible to recommend a specific graphics card or performance level. Check the Blender version you’re working with and the render engine’s volume support.
Next steps
After setting up basic fog, try Volume Absorption alongside Volume Scatter to simulate light absorption. The Blender manual also describes volume emission for fire or emissive volumes; Principled Volume combines scattering, absorption, and emission in a single node. When using volume attributes such as those for smoke or fire, density, color, and temperature data can also affect shading. Before moving on, confirm that the basic volume connection works, then add new components one at a time.
Sources and license
This content has been adapted into Turkish from Blender’s official 2.91 volume manual and the current Volume Scatter node manual. Both sources are published under the CC BY-SA 4.0 license.
Sources
2 sourcesSource texts are not republished; short quotes are marked, everything else is our own summary and commentary.
For architecture firms and archviz artists in Turkey, Volume Scatter offers a straightforward starting point for creating light beams and atmosphere directly in a scene. In scenes that need just one volume area, using an enclosing mesh instead of a world volume can offer greater control.
Still, an impressive look needs to fit the workflow: volumetric scattering can increase render times, and the version notes in the Blender manual should be checked against your current setup. Test render engine support, mesh topology, and render times before delivery. Since the sources provide no information about hardware, software costs, or licensing terms, these should be verified for each project and the version in use.
Frequently asked questions
Where do you connect the Volume Scatter node in Blender?
Connect the node’s Volume output to the Volume input of the Material Output or World Output node.
What does anisotropy do in Volume Scatter?
It determines which direction light is more likely to scatter in within the volume. Zero means uniform scattering in all directions; positive values increase forward scattering, while negative values increase backward scattering.
What should a Blender mesh used as a volume be like?
The mesh should be closed and manifold, contain no holes, and have outward-facing normals.