In brief
- Images 2.6 was announced for ChatGPT, Codex, and the API on 4 November 2026.
- The API offers GPT-Image-2.6 Flare and GPT-Image-2.6 Sunburst.
- For controlled edits, prompts should clearly specify which spatial features must remain unchanged and what should be modified.
- The API editing endpoint accepts one or more source images along with a text prompt.
What you’ll learn in this guide
This tutorial focuses on using the Images 2.6 API to develop ideas for architectural and interior images, create alternatives, and make targeted edits to existing images. OpenAI announced Images 2.6 for ChatGPT, Codex, and the API on 4 November 2026. The API offers two options: GPT-Image-2.6 Flare and GPT-Image-2.6 Sunburst.
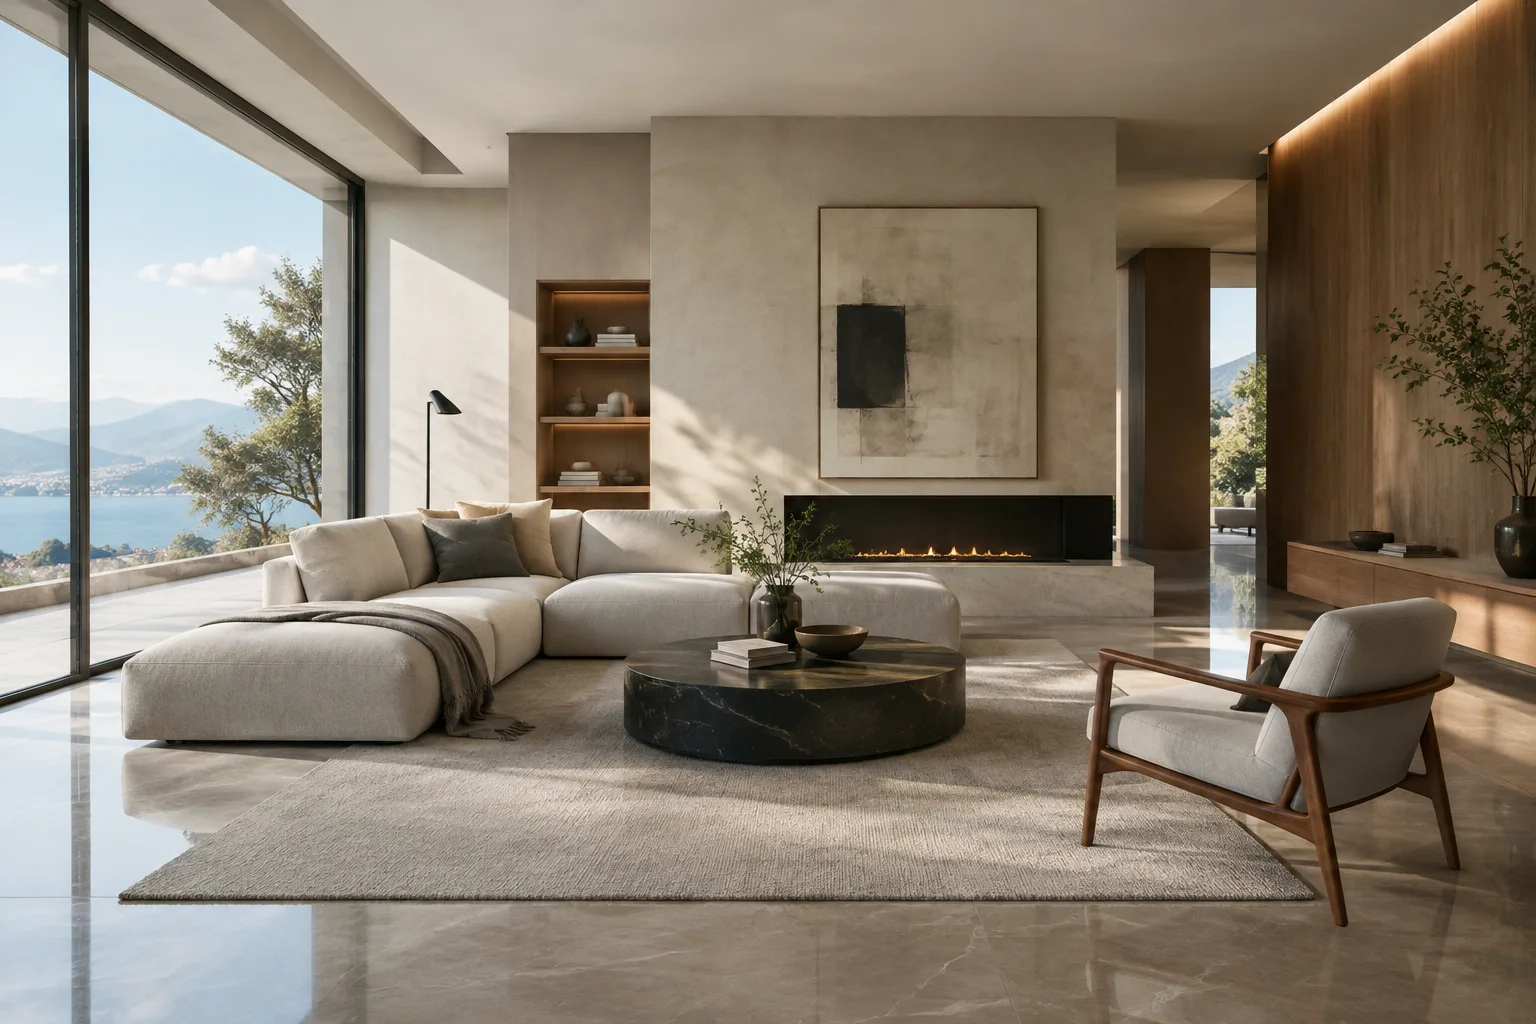
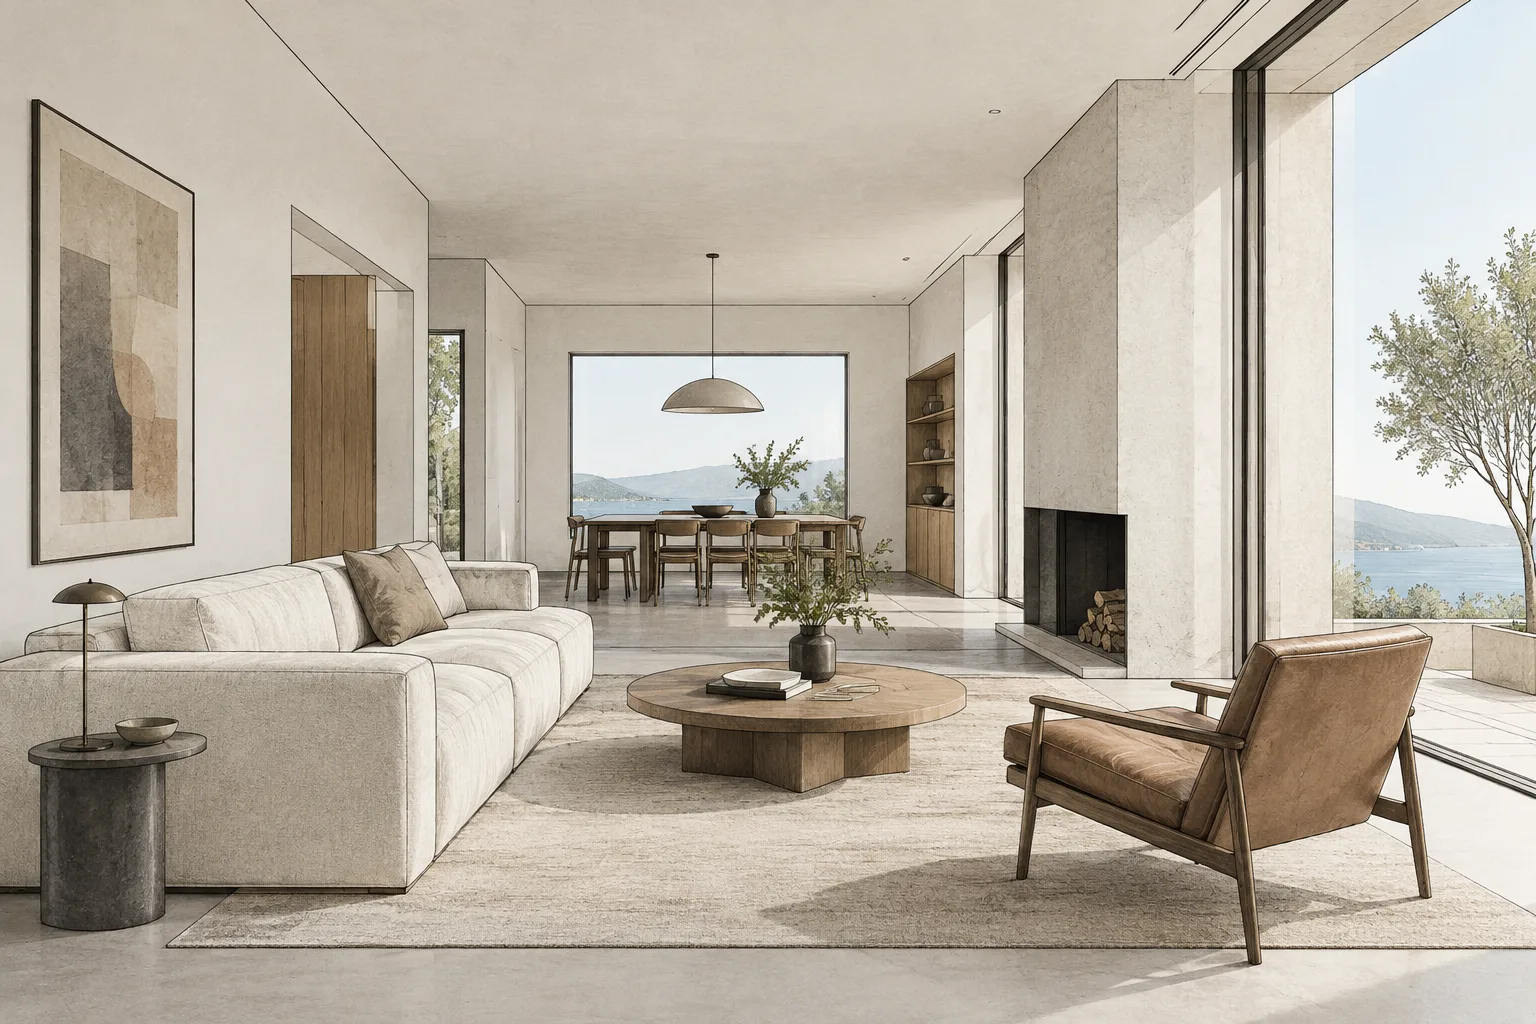
Throughout the guide, we’ll use an interior image as a reference to explore material and lighting alternatives, preserve the camera framing, and provide more detailed guidance for complex scenes. Rather than treating generative image output as a technical document that can replace a drawing or project model, think of it as a tool for visual research and presentation preparation.
Requirements
You’ll need a project with access to the Images API, an application or client that can send API requests, and at least one source image to edit. The API documentation describes the editing operation through the images.edit method and the /images/edits endpoint. The editing prompt is sent together with one or more image files.
You can choose between the two models according to your production goals. According to OpenAI, Flare is intended for fast, casual generation, while Sunburst is designed for tasks where editing precision and visual consistency matter more. Sunburst is described as producing higher-quality images at medium or high quality settings, with stronger consistency across edits. The Images 2.6 source materials do not provide a generation-time comparison between Flare and Sunburst.
The API documentation lists low, medium, and high quality settings, as well as low, medium, and high complexity levels. Complexity controls the computation the model spends planning the image; quality controls the level of visual detail and fidelity. These are separate settings, not interchangeable ones. GIF generation is also covered in the documentation, though access to GIF previews may be required for the relevant model. Since this tutorial focuses on architectural image editing, it does not cover the GIF steps.
Step by step: guiding an interior image
Choose a source image. Select the room, render, or design image you want to edit. In your prompt, specify each feature that must be preserved—for example, the camera angle, wall openings, furniture layout, and framing. State the requested change in a separate sentence. This makes it clear both what the model should change and what it should keep fixed.
Use a single design goal for the first pass. For example, ask it to change only the material palette. Rather than piling several major changes into one prompt, generate an initial variation first, then develop the chosen direction in a new editing pass.
Using the provided interior visualization as the reference, create a warm, contemporary residential living room with pale oak flooring, soft off-white walls, and muted olive textiles. Preserve the camera angle, room dimensions, window locations, furniture positions, and overall composition. Change only the material palette and soft furnishings. Photorealistic architectural visualization, natural daylight, restrained styling.This prompt aims to explore the existing image’s material language and textile choices rather than asking the model to design an entirely new room. Asking it to preserve the camera, openings, and furniture positions helps you evaluate alternatives within the same design layout.
Test lighting alternatives separately. Explore the character of daylight or the feel of artificial lighting without changing your material decisions. If you change too many elements in one image at once, it can be difficult to tell which instruction affected the result.
Edit the provided interior visualization to show soft late-afternoon daylight entering from the existing windows. Keep the room layout, camera position, furniture, finishes, and color palette unchanged. Adjust only the daylight direction, shadow softness, and overall exposure to create a calm, realistic architectural image.In this pass, specify where the light should enter and emphasize that the other scene elements must stay fixed. Before turning the output into a project decision, check that the lighting and material effects are consistent with the reference image.
Request a controlled change to a single element. When exploring alternatives for a chair, table, or light fixture, repeat the instruction to preserve the rest of the scene. The API documentation says the editing operation can use one or more source images and a prompt. OpenAI’s Images 2.6 announcement also says that a feature for marking specific areas in an image to target edits is coming to the API.
In the provided interior image, replace only the lounge chair beside the window with a simple sculptural wooden chair with a light fabric seat. Preserve the chair's approximate scale and position, and keep every other object, surface, light condition, and camera detail unchanged. Photorealistic result.This example limits the edit to a single furniture item. If other objects in the scene change as well, narrow the prompt and try another editing pass, describing only the item you want to change.
Break down prompts for complex scenes. If several material, lighting, and furniture constraints matter at once, first list what must be preserved, then the changes, and finally the desired visual qualities. OpenAI recommends trying medium or high complexity for scenes with many elements or constraints. Low complexity is recommended for quick, simple edits.
Create a polished architectural visualization from the provided reference image. Preserve the room geometry, openings, viewpoint, and main furniture layout. Update the finishes to a quiet palette of natural stone, warm timber, and soft neutral upholstery. Keep the styling minimal, use realistic material texture, and maintain believable daylight. Do not add people, signage, or new architectural elements.This prompt defines several surface and atmosphere goals while keeping the geometry and main layout fixed. As the number of constraints increases, compare the results carefully, and remember that the image should be checked against the project drawings.
Compare models and settings. Use the same source image and prompt to generate results with Flare and Sunburst. Then adjust the quality and complexity settings according to the task. Change the prompt or one setting at a time for each test so it’s easier to understand which choice affected the result. Evaluate generation time, quality, and cost alongside your project team’s API usage terms. The source materials do not provide API pricing figures, so a specific cost estimate is not possible.
Common mistakes
Not specifying what to preserve: The model may reinterpret areas you didn’t intend to change. Clearly state which elements—such as framing, geometry, and layout—must stay fixed.
Asking for too many changes at once: Handling materials, lighting, and furniture in separate passes makes the results easier to evaluate.
Treating quality and complexity as the same setting: The documentation describes these parameters as serving different purposes. Don’t assume that changing one is equivalent to changing the other.
Treating the image output as technical validation: Generated images can support design ideation or presentation, but they don’t by themselves verify dimensions, material performance, or construction details.
Assuming the same model will suit every task: Flare and Sunburst are designed for different workflows. A small comparison using actual project source images is a safer way to choose.
Next steps
Choose an approved reference image from an interior project and compare the two models using the same prompt. Evaluate the results for layout consistency, how well they follow the requested change, material appearance, and usefulness to your team. Develop the preferred variation in a new pass, changing only one feature. When sending images to the API, also follow your organization’s permissions and usage rules for project and client content.
Sources and licensing
This guide is adapted into Turkish from OpenAI’s 4 November 2026 Images 2.6 announcement and the image editing documentation in the developer API. The source information lists license=free for both pages. The example prompts are original prompts created for architectural and interior workflows, not copies of prompts published in the sources.
Sources
2 sourcesSource texts are not republished; short quotes are marked, everything else is our own summary and commentary.
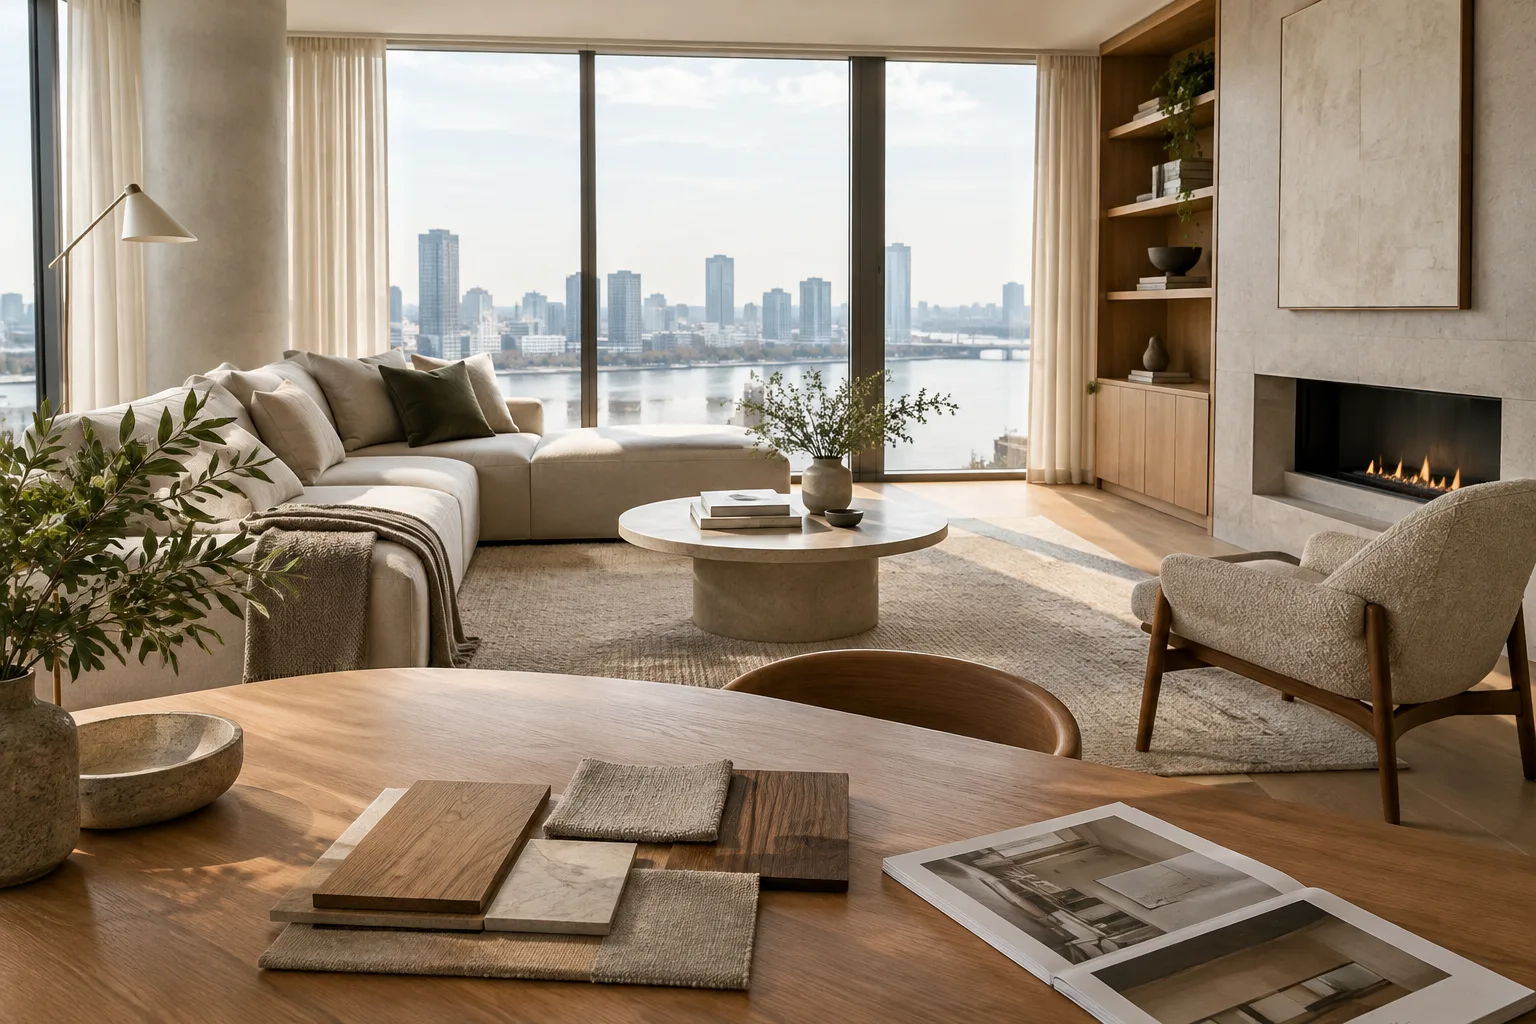
Images 2.6’s practical value for architectural image creation may lie less in making design decisions from scratch and more in rapidly exploring alternatives and making controlled visual edits. Interior teams can compare material or lighting options using the same reference image and discuss ideas before preparing a presentation.
For offices and students in Turkey, API costs, integration with existing workflows, and permissions for using project images should be assessed separately. The sources do not provide pricing figures, so it isn’t possible to calculate a budget. Don’t assume the outputs accurately represent geometry or construction details; check final decisions against the project documentation.
Frequently asked questions
Which models does the Images 2.6 API offer?
The API offers GPT-Image-2.6 Flare and GPT-Image-2.6 Sunburst. OpenAI positions Flare for fast, casual generation and Sunburst for more precise and consistent editing tasks.
Can I edit an existing interior image with Images 2.6?
The API’s image editing method accepts one or more source images along with a text prompt. You can specify what to change and what to preserve in the prompt.
What do the complexity and quality settings do in the API?
According to the documentation, complexity controls the computation spent planning the image, while quality controls the level of visual detail and fidelity. Both settings offer low, medium, and high options.