In brief
- A perspective camera makes distant objects appear smaller and causes parallel lines to appear to converge.
- Lens shift helps adjust vanishing point positions without rotating the camera.
- Depth of field can be set using a focus object or focus distance; a lower F-Stop produces stronger blur.
- Cycles supports different panorama camera types, including 360° × 180° equirectangular panoramas.
What will you learn in this guide?
In Blender, the camera determines which part of a scene is rendered. In architectural visualization, camera choice affects how a space is perceived, which elements fall within the frame, and whether the image looks more realistic or technical. This guide walks through the difference between perspective and orthographic projection, how to use focal length and lens shift, depth of field, camera clipping limits, and Cycles panoramas.
The code blocks below are not software commands; they are short framing briefs that describe the purpose of each shot. You can use them as checklists while adjusting the relevant settings in Blender.
Requirements
You need an installation of Blender with access to camera settings and a scene you can render. The source guides do not specify a particular Blender version or account requirements.
Cycles is required for panorama camera types. According to the Blender Manual, these camera types cannot be viewed in non-rendered viewport modes such as Solid; the result is produced in the final render.
For depth of field, you can select an object in the scene to focus on or use the distance between the camera and the focus point.
Step-by-step camera setup guide
1. Choose a projection based on the purpose of the shot
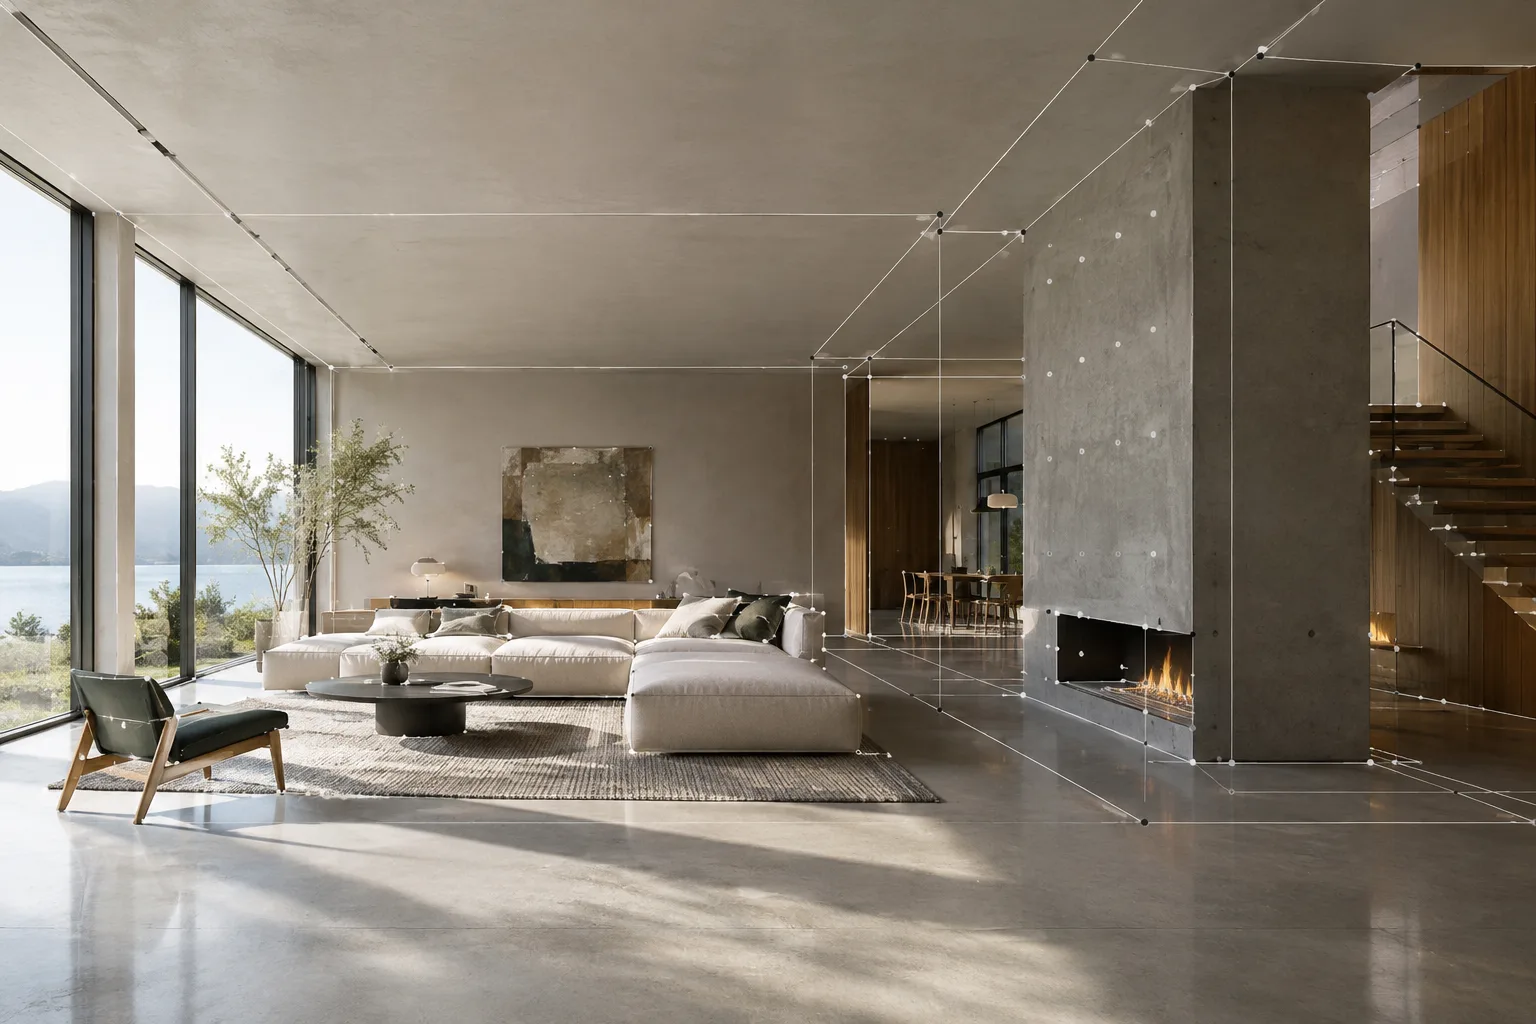
In the camera properties, you can choose perspective, orthographic, or—where appropriate—a panoramic type. Perspective resembles real-world vision: distant elements appear smaller, and parallel lines converge as they recede. When you want to convey the depth and sense of space in an interior, this behavior is an important part of the framing.
Set up a perspective camera frame for an architectural interior; show the depth of the space and the convergence of parallel lines, while keeping the main design elements in frame.This brief is a reminder to keep the camera in perspective projection. When evaluating the result, look at how lines converge in the frame and the difference in scale between near and distant elements.
With orthographic projection, objects do not appear smaller with distance, and parallel lines do not converge. This view can be useful in technical presentations where you want to show relationships between measurements and forms without perspective effects. In this mode, Orthographic Scale determines the size of objects in the image.
2. Balance the field of view with focal length
For a perspective camera, Focal Length controls the field of view and the zoom effect. A longer focal length gives you a narrower field of view, while a shorter focal length shows more of the scene at once. In an architectural scene, rather than changing only the focal length to fit more into the frame, also review the camera position and the lines in the image.
Carefully adjust the field of view for an architectural exterior shot; show the necessary context around the building while keeping the main structure legible.This brief does not prescribe a specific millimeter value; the source guide does not recommend a single ideal focal length. Try different focal lengths in your own scene and compare how much of it appears in frame. The Lens Unit setting lets you specify focal length in millimeters or as a field of view.
3. Try lens shift to control verticals
The Shift setting adjusts the position of vanishing points. In the source guide’s example, using lens shift keeps horizontal lines horizontal, while rotating the camera can cause those lines to tilt. For architectural shots where it is important to keep vertical and horizontal lines straight in the frame, consider adjusting Shift without rotating the camera.
Show the facade in a straight, orderly architectural frame; consider adjusting the vanishing points with lens shift instead of tilting the camera.This brief does not guarantee the setting will produce the same result in every scene. Review the frame and compare the effect of lens shift with rotating the camera. The guide also notes that Shift is equivalent to rendering with a wider field of view and cropping the image off-center.
4. Set the focus point and depth of field
Depth of field blurs elements in front of and behind the plane of focus. You can link the focus point to an object using Focus Object, or set a distance using Focus Distance. When a focus object is selected, the distance setting is disabled.
Choose the design element to focus on in the interior render; keep blur in other areas restrained and check the overall legibility of the space.F-Stop in the Aperture section affects the amount of blur; according to the guide, lower values produce a stronger depth-of-field effect. So first set the focus point, then adjust F-Stop while checking how the blur affects the scene’s legibility. The Blades, Rotation and Ratio options are also available for changing the bokeh shape.
5. Check the clipping range and reference image
Clip Start and Clip End determine which range of distances from the camera remains directly visible. Keeping these distances limited can help with rasterization precision, particularly in viewport renders; light bounces continue to be affected indirectly. To check the visible limits, use Show – Limits in camera view.
When using a reference image as a camera background, the Frame Method setting matters. Stretch can fit the image to the frame dimensions and change its aspect ratio; Fit preserves the ratio while fitting the image into the frame; Crop preserves the ratio but can cut off part of the image.
Use a reference image as the camera background; compare Fit and Crop to preserve its aspect ratio, and confirm that important areas remain in frame.This brief is for comparing the background image with the frame. Check how Stretch, Fit and Crop position the image, and consider which parts of the reference need to remain visible when choosing a setting.
6. Use panorama for 360-degree presentations
Cycles panoramic cameras offer different projections. Equirectangular produces an image that is 360° along the horizontal axis and 180° along the vertical axis. Equiangular Cubemap Face is designed to distribute detail more evenly across a spherical image and, according to the guide, is suitable for virtual reality use. Fisheye types can produce a wide-angle view with pronounced distortion. When using these options, bear in mind that the result will not appear in Solid view, but in the final render.
Common mistakes
Confusing perspective and orthographic views: With an orthographic camera, parallel lines do not converge, and object size does not change with distance. Decide on the desired visual effect first.
Rotating the camera arbitrarily to straighten verticals: Rotation can cause lines to tilt. Also test the effect of the Shift option in the frame.
Trying to change the distance while a focus object is set: Focus Distance is disabled when Focus Object is assigned. Choose which of the two focus methods to use.
Overlooking the image ratio when fitting a background to the frame: Stretch can change the aspect ratio; Fit and Crop preserve it but show different portions of the image.
Looking for a panorama result in the wrong view mode: Panoramic camera types are not displayed in non-rendered viewport modes.
Next steps
First, compare perspective and orthographic results in the same scene. Then change focal length, lens shift and depth of field individually to see how each setting affects the frame. If you need a panoramic presentation, choose the appropriate projection from the Cycles camera options and produce a final render. Keeping the rest of the scene and composition fixed while comparing different camera settings makes it easier to see the effect of each change.
Sources and license
This guide has been adapted into Turkish based on the Blender Manual’s “Cameras” and Cycles “Cameras” guides. Both sources are licensed under CC BY-SA 4.0.
Sources
2 sourcesSource texts are not republished; short quotes are marked, everything else is our own summary and commentary.
Learning Blender’s camera settings helps architecture students and visualization teams make more informed framing decisions without needing additional software. In particular, the difference between perspective, orthographic views and lens shift can affect how a design reads in presentation images.
For offices, the most practical approach is to compare settings in a controlled way in the same scene and avoid overusing depth of field. The sources do not provide information about hardware requirements, license costs or version compatibility; for panoramas, the Cycles requirement and the limitations in non-rendered view modes should be kept in mind.
Frequently asked questions
Should I choose a perspective or orthographic camera for architectural visualization in Blender?
Perspective makes distant elements appear smaller and causes parallel lines to converge. In an orthographic view, object size does not change with distance and parallel lines do not converge; the choice depends on the desired visual effect.
What does lens shift do in Blender?
Lens shift adjusts the position of vanishing points. According to the Blender Manual, this setting can change how lines appear in the frame without rotating the camera.
Which render engine supports panoramic cameras in Blender?
According to the Blender Manual, panoramic camera types are supported by Cycles. They are not displayed in non-rendered viewport modes such as Solid and work in the final render.