In brief
- Each Design Option set contains one primary option and one or more secondary options.
- In Revit 2022, the main model and primary option are displayed by default in project views.
- Making an option primary can affect some references in the main model; dimensions and tags should be checked.
- A room in the main model ignores walls and room separation lines in secondary options; a room in an option is defined by its own option, the main model, and primary options in other sets.
Design Options in Revit can be used to create and evaluate multiple solutions in an architectural model within the same project file. Autodesk’s Revit 2022 documentation describes the feature as a way to compare different design decisions, such as roof forms or main entrances. The main workflow in this guide is based on Revit 2022 documentation; notes on Revit LT are identified separately, along with the version scope of the relevant LT documentation.
What is an option set for?
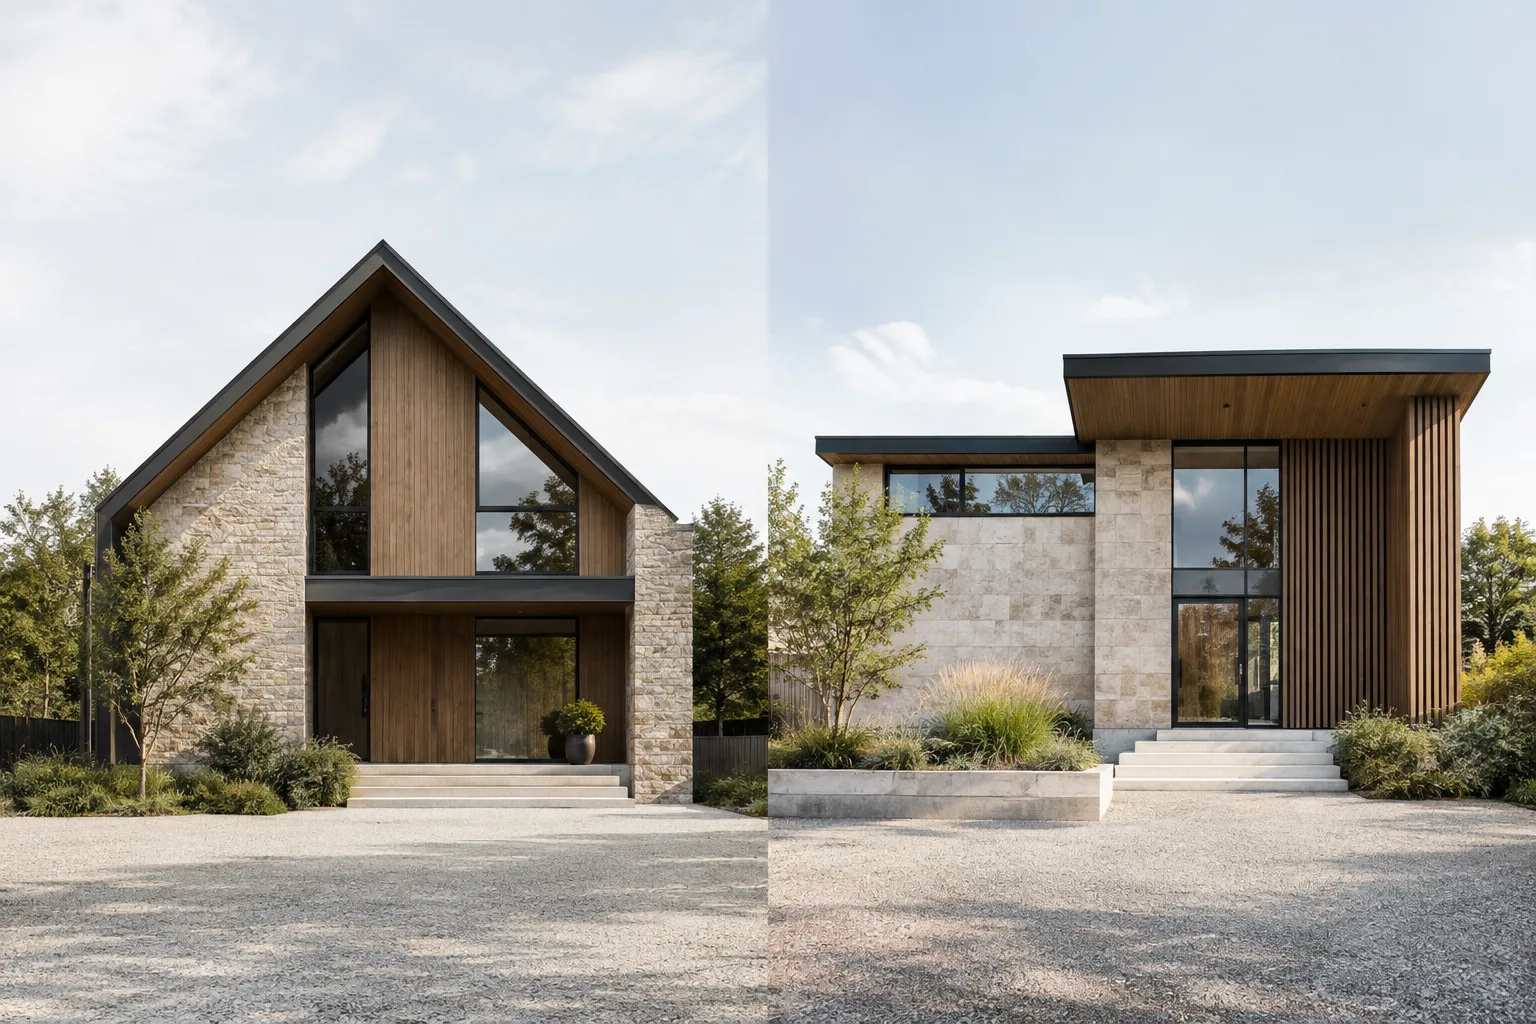
A Design Option set brings together possible solutions to a specific design problem. Each set can contain one primary option and at least one secondary option. Autodesk’s examples of roof and entrance alternatives show how the method can be used for different parts of the same building. This makes it possible to develop alternatives within a shared project rather than keeping each solution in a separate project file.
Before creating options, identifying which design decisions are genuinely alternatives helps keep the workflow clear. For example, different entrance layouts might form a single design topic. Revit documentation states that multiple option sets can be created for different parts of a building; associating each set with a distinct design question makes it easier to track which solutions are displayed in views later.
Creating and editing alternative options
In Autodesk’s Revit 2022 help, the path shown for managing options is Manage › Design Options. The steps for creating a secondary option in the official Revit LT 2013 help also describe the same panel. Allow for differences based on interface language and version, and check the path against the labels in your installation.
Open the Design Options dialog from
Manage › Design Options. Select the option set you want to work with from the list on the left.When you create a new set, Revit prepares a primary option. Edit the elements in this option to create the initial solution.
To add a secondary alternative, select the relevant set and use the
Newcommand in theOptionsection. To change the default name, select the option name and useRenameto give it a new name.Select the option you want to edit, click
Edit Selected, and then close the dialog withClose. While editing, main model elements appear halftone; this view helps distinguish the alternative being worked on from shared model elements.
You can use Make Primary to make a secondary option primary. However, Autodesk’s Revit LT 2013 documentation warns that references from the main model to the previous primary option may be lost in the process. After making the change, check that dimension references and tags are attached to the correct elements. Changing the primary option is not just a naming or presentation preference; it can affect project references.
Which alternative is displayed in views?
According to the Revit 2022 help, when a new option set is created, the main model and primary option are displayed in project views by default. Secondary options are not included in project views by default. Creating an alternative therefore does not mean it will automatically appear in every plan or elevation.
If the option you want is not visible, check the view’s Design Option settings. Autodesk’s Revit LT 2013 instructions recommend selecting Automatic for the relevant set or assigning the specific option you want to display. When working with multiple alternative sets, also verify which options are shown in views designated for presentation. This allows team members to review different design solutions in a controlled way while using the same project file.
Room areas and their impact on the architectural workflow
Whether room elements should be kept in the main model or inside an option depends on whether their area, shape, and properties vary between alternatives. According to the Revit LT 2013 documentation, a room in the main model is defined by room-bounding elements in the main model and primary options; it does not take into account walls or room separation lines in secondary options.
The same documentation explains that a room inside an option is bounded by that option, the main model, and primary options in other sets; secondary options in other sets are not included in this calculation. If a room’s shape, size, or location will remain the same across all alternatives, and its properties will also be shared, keeping the room in the main model may be appropriate. If the room will vary between alternatives, add a separate room element for each option. The documentation describes moving an existing room into the options or copying it between options with the Copy and Paste Aligned tools.
If multiple option sets will affect room boundaries together, Autodesk’s LT documentation describes dividing spaces in the main model using room separation lines, not adding room elements to the main model, and creating a separate option set for each space. Views designated to show different combinations of options can be used with this approach. These rules are explained in the Revit LT 2013 help; when working in other versions or installations, verify the project settings and the official help for your version.
For architecture and interior design teams, Design Options are especially useful for evaluating alternative entrance, roof, or room layouts within the same project. When preparing archviz work, it is important to verify which option is active in the relevant view: if the wrong alternative remains in the view, another solution present in the model may not appear in the presentation. The Revit LT 2024 help states that the feature is disabled by default; LT users should check their version’s documentation to see whether it needs to be enabled before starting.
Common mistakes
Assuming a secondary option will automatically appear in all project views. Check the view’s option settings.
Overlooking dimension and tag references after using
Make Primary. This operation can result in lost references.Trying to manage room shapes or properties that vary between alternatives with a single shared room element. Decide where room elements should be kept based on the design decision.
Assuming Design Options are enabled in Revit LT. According to the Revit LT 2024 help, the feature is turned off by default.
Sources
3 sourcesSource texts are not republished; short quotes are marked, everything else is our own summary and commentary.
Design Options can help project teams in Turkey review decisions such as entrance, roof, or room layouts without splitting them into separate files. Establishing a clear team workflow for where alternatives are kept and which views display them is especially valuable when working on a shared model.
However, changing the primary option and managing room boundaries require care; an incorrect reference or view setting can prolong presentation preparation. Revit LT users should verify whether the feature is enabled in the documentation for their version. The sources do not provide information about hardware requirements or license costs, so no assumptions should be made on those topics.
Frequently asked questions
What are Revit Design Options for?
They let you develop and evaluate different design solutions within the same project file. An option set can contain one primary option and one or more secondary options.
Why isn’t a secondary Design Option visible in Revit?
According to the Revit 2022 documentation, secondary options are not displayed in project views by default. Check the view’s Design Option settings for `Automatic` or the specific option you want.
Are Design Options enabled by default in Revit LT?
Autodesk’s Revit LT 2024 help states that Design Options are disabled by default. You may need to enable the feature to use it.