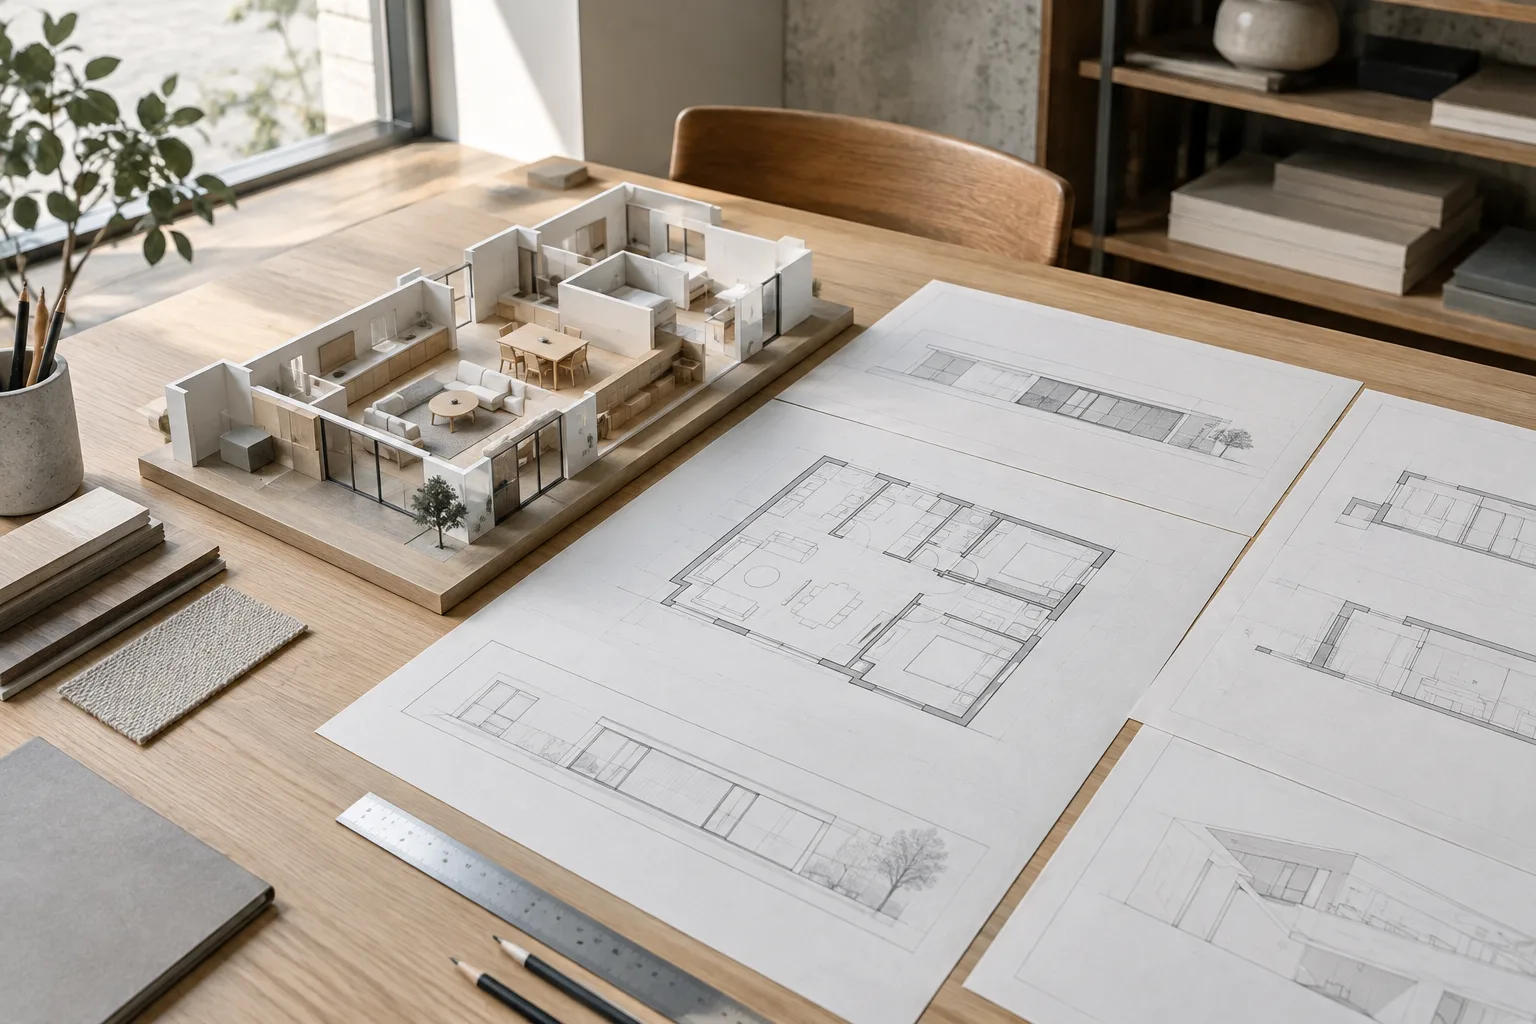
In brief
- Design Options help manage alternative elements without overlapping with the main model or other options.
- Each option set can have at most one active option at a time; combinations can be assigned to views.
- When placing a hotlink, you can select specific options or a combination alongside the source file’s main model.
- In Archicad 29, Curtain Wall Edit Mode lets you edit the frames, panels, and other members of the selected system separately.
This guide brings together the Design Options, hotlink, and Curtain Wall editing functions described in Graphisoft’s Archicad 29 help documentation to show how to organize project alternatives. The goal is to keep designs that have not yet been finalized separate from the main model, review options in different views, and transfer the approved solution to the main model in a controlled way. Menu and feature names follow the terminology used in the Archicad 29 documentation.
1. Plan the main model and option sets first
Keep finalized elements in the Main Model. In the workflow recommended by Graphisoft, building elements that have already been decided are created in the main model first. Elements that require alternatives are assigned to separate Design Options. This way, the main model represents finalized parts, while options represent solutions that are still under consideration.
Group alternatives into logical Option Sets. For example, different furniture layouts can go in a “Furniture layouts” set, while different façade solutions can be kept in a separate set. Each Option belongs to an Option Set. Naming sets to clearly indicate the design decision they represent makes comparisons easier to follow within the project.
Set the default option for new elements. When you make an Option the default, newly created elements are automatically added to it. Alternatively, you can create elements in the main model first and reassign them to a Design Option later. Choosing the right default up front reduces the risk of adding elements to the main model or another alternative by mistake.
Use focused editing controls to work on the right elements. When creating an option, the on-screen focused editing controls help you track which elements your changes affect. Keeping options from intersecting with one another or with the main model makes it easier to review visible alternatives together.
2. Set up combinations and views
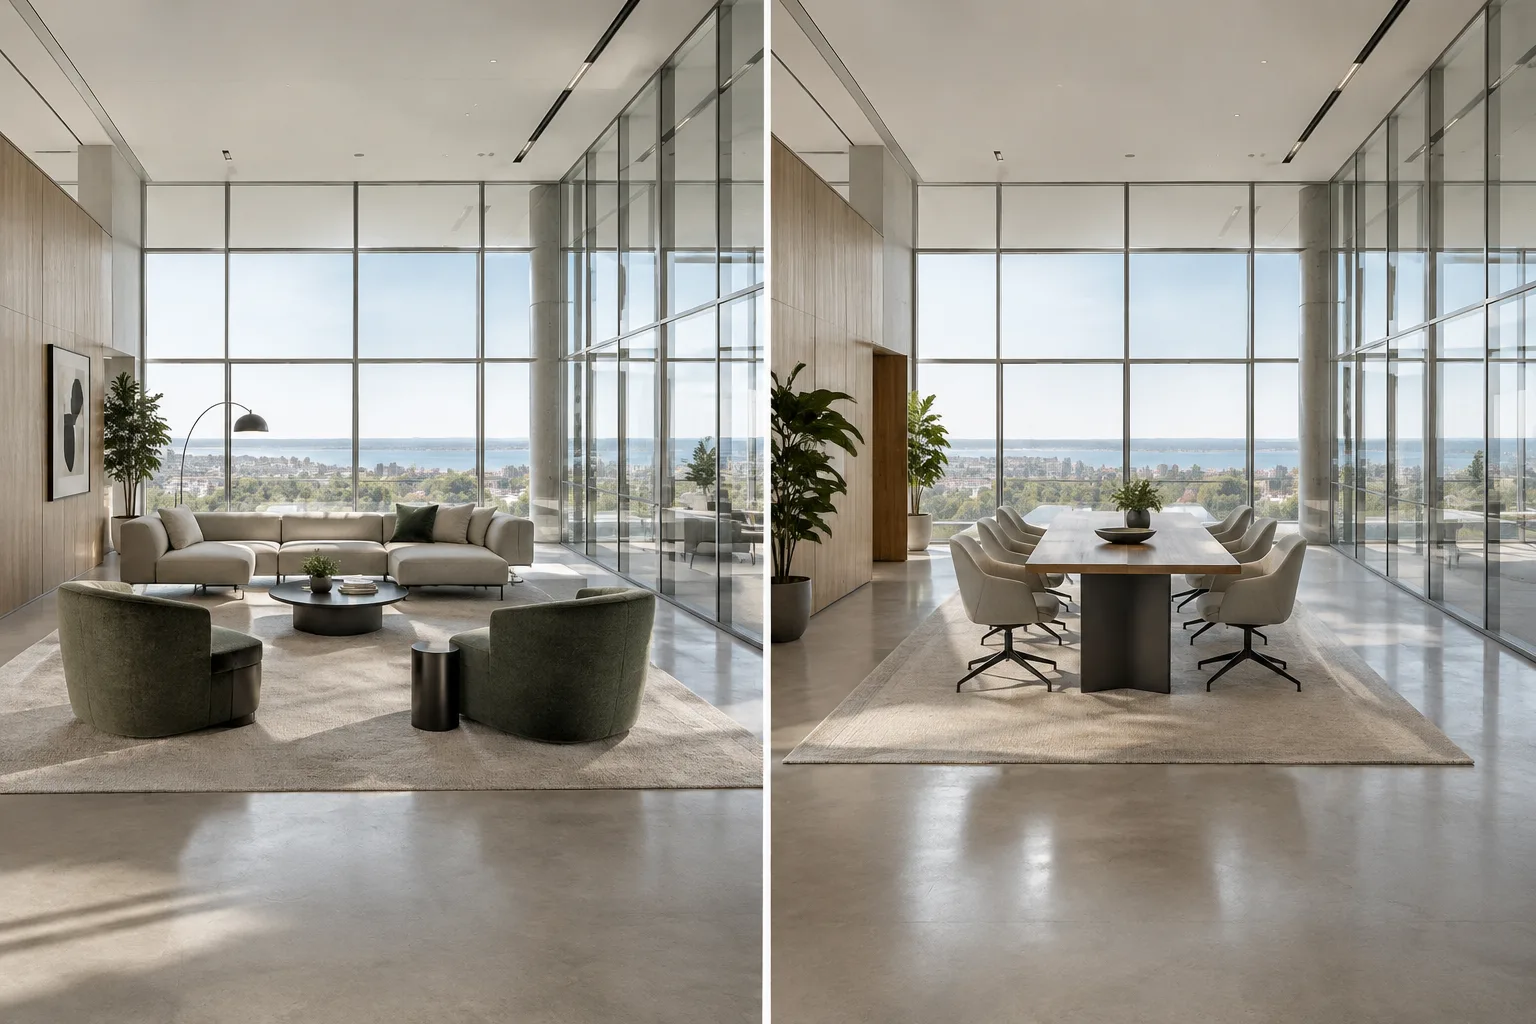
Create an Option Combination. Each combination can have no more than one active option from each Option Set. This makes it possible to evaluate, for example, different furniture layouts alongside different façade options. Elements in inactive options are hidden in the model, but remain listed in Element Schedules and cannot be selected.
Assign combinations to the relevant views. Design Options are view-based. A combination can be associated with a 2D or 3D view, allowing different project views to show different alternatives. Options can be evaluated for aesthetics, performance, and efficiency in the context of their surrounding design. Explore and compare the options before presenting them to stakeholders.
Move the approved alternative into the main model. Use Accept & Merge to make an option in an Option Set the final solution. This merges the selected option into the Main Model and deletes the other options in the same set, as well as the Option Set itself. So this step should be performed after the alternatives have been compared and a decision has been made. Options can also be duplicated, reorganized, or moved to other sets as part of the design process.
| Setting or decision | Recommended value | Effect |
|---|---|---|
| Default for new elements | The Design Option to which elements will be added | New elements are automatically assigned to this option. The main model can also be selected as the default. |
| Option Combination | At most one active option from each Option Set | Allows alternatives from different sets to be evaluated together in the same view. |
| View assignment | The relevant Design Option Combination | Determines which alternative appears in a 2D or 3D output. |
| Final decision | The selected Option, using Accept & Merge | The option is added to the main model; the other options and the related set are deleted. |
3. Check option and elevation alignment in hotlinks
Choose the source content when placing a hotlink. In the hotlink settings, the source file’s Main Model is always placed; you can also select specific Design Options or an Option Combination. Different instances of the same hotlink can use different option content. When placed, the hotlink is added to the current default option in the main file; its Option Status can be redefined afterward.
Review the layer structure and nested modules. The visibility and locking of the entire hotlink are controlled by the Master Layer in the main file; the visibility of elements inside the module depends on their own layers. Using the same layer structure in the source and main files is recommended for best results. If nested modules are not needed, use Skip Nested Modules in the Module panel to exclude them from the current hotlink.
Verify story and elevation alignment. If the source and main projects have different story structures, choose between an option that offsets elements according to the main project’s story levels and one that preserves their vertical position in the source file. For IFC hotlinks, Graphisoft specifically advises using the option to preserve the source file’s elevation; otherwise, the different story structures may cause model elements to become misaligned. If the main project has fewer stories than the hotlink, the module’s stories that do not fit will be hidden; adding the necessary stories to the main project is one solution.
4. Edit Curtain Wall members separately
Select a single Curtain Wall and enter Edit Mode. You can enter Edit Mode from the floor plan, elevation, section, or 3D window. Use the Edit button that appears on screen, or go to
Design > Modify Curtain Wall > Enter System Edit Mode. This mode does not create a new Curtain Wall; it lets you edit members of the selected system or add members specific to that system.Keep the required member visible and edit its local settings. Scheme, Frame, Panel, Accessory, and Junction members have their own tools and settings dialogs. Use the eye icons in the editing palette to show or hide members; right-clicking an element hides the others and brings that element into focus. When a member’s parameters are changed in Edit Mode, it is no longer linked to Curtain Wall System Settings and becomes a locally configured Custom member. For this reason, distinguish between system-wide settings and local changes.
Finish editing and exit the mode. You can exit Edit Mode by pressing Esc, clicking Exit Edit Mode in the palette, or going to
Design > Modify Curtain Wall > Exit System Edit Mode. System-level settings can be edited through Curtain Wall Settings at the bottom of the palette without leaving the mode.
Common mistakes
Not checking the default Option before creating new elements; elements may be added to an unexpected option.
Assuming more than one option can be active per Option Set at a time. The documentation specifies a maximum of one active option for each set.
Using Accept & Merge before reviewing the alternatives. The operation deletes the other options and the related set.
Setting the elevation of an IFC hotlink without accounting for different story structures. Elements may become misaligned if the option to preserve the source elevation is not used.
Assuming that a local change to a Curtain Wall member remains linked to the system settings. A member whose parameters are changed becomes a Custom member.
These steps are based on Archicad 29’s documented functions for keeping alternatives separate from the main model, comparing them in views, and merging the approved solution. In hotlinks, pay particular attention to story structure, layers, and option status; in Curtain Walls, check local member settings.
Sources
3 sourcesSource texts are not republished; short quotes are marked, everything else is our own summary and commentary.
For offices in Turkey evaluating different façade, plan, or furniture decisions within the same project, Design Options can help keep alternatives organized without splitting them into separate files. Assigning combinations to views can make design decisions easier to follow during presentations and coordination.
However, this workflow’s efficiency depends on getting the initial setup right: option sets, the default Option, and the hotlink story structure should all be considered from the outset. In particular, remember that Accept & Merge deletes the other alternatives, and that members modified in a Curtain Wall become independent of the system settings. The documentation does not specify any special hardware requirements; the key compatibility considerations here are the Archicad version, story alignment, and consistency of project layers.
Frequently asked questions
What are Design Options in Archicad 29 for?
They let you manage design alternatives that are not yet finalized separately from the main model and compare them in 2D or 3D views. Option combinations can be assigned to views.
How do you transfer a Design Option into the main model in Archicad?
Merge the selected option into the main model using the Accept & Merge command. This deletes the other options and the related Option Set.
How should you choose the elevation setting for an IFC hotlink?
Graphisoft recommends using the option to preserve the elevation in the source file for IFC hotlinks. With different story structures, choosing otherwise may cause model elements to become misaligned.