In brief
- The Mesh command creates editable meshes from NURBS surfaces, polysurfaces and SubD objects.
- ShrinkWrap can create a wrapping mesh for point clouds, scan fragments and geometry that is difficult to repair.
- In Mesh settings, smaller edge lengths and surface-distance values produce more detailed results, but take longer to process.
- In ShrinkWrap, a positive offset expands the mesh; a negative offset shrinks it.
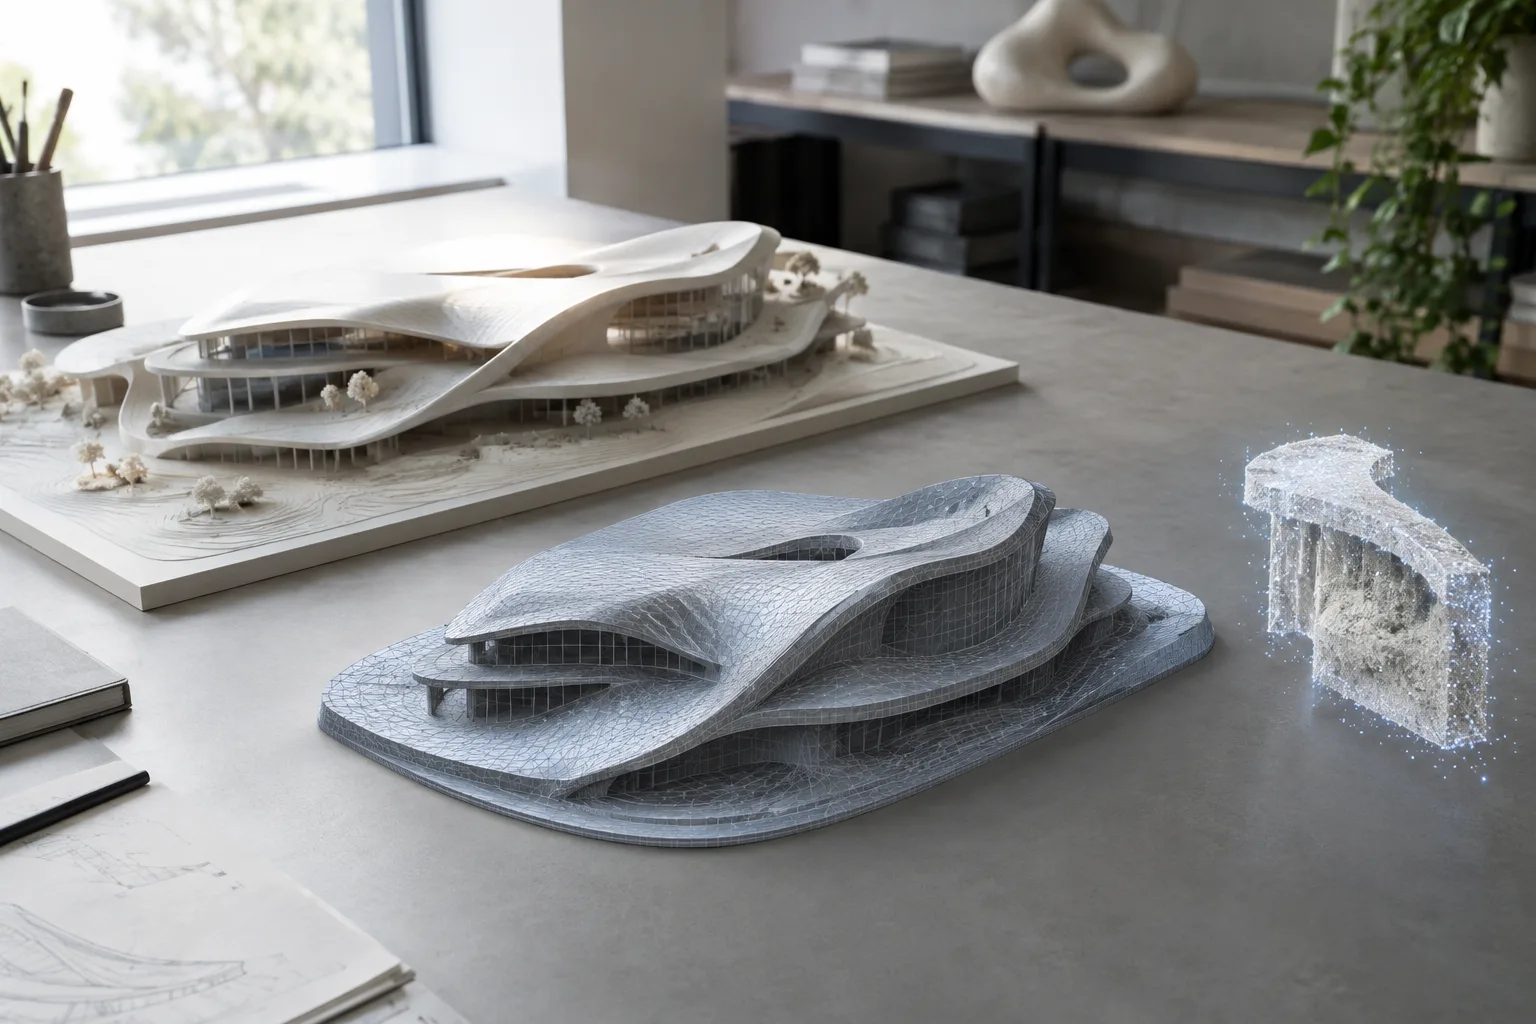
Rhino 8’s Mesh and ShrinkWrap commands create polygon meshes for use at different stages of modeling and production. According to McNeel’s official documentation, Mesh converts NURBS surfaces, polysurfaces and SubD objects into meshes, while ShrinkWrap can create a new mesh around those objects as well as meshes, point clouds and point objects. Choosing the right tool and settings makes it easier to prepare geometry for export, 3D printing, scan-data processing or visualization. This guide is based on the Rhino 8 documentation.
1. Choose Mesh or ShrinkWrap for the task
Use the Mesh command to convert NURBS surfaces, polysurfaces or SubD objects into polygon meshes:
MeshThe command creates an editable mesh as a separate object from the source. Rhino notes that when a mesh is created from a solid, it will be closed, or watertight. This is important when exporting to rapid-prototyping file formats such as STL. After running the command, check the density and other mesh options in the preview.
ShrinkWrap may be a better choice when working with different types of objects together, wrapping scan fragments, or creating a closed mesh from broken geometry:
ShrinkWrapThe documentation lists uses for the command including 3D printing, meshing point clouds, creating a solid mesh from the union of multiple objects, and reverse engineering. The command’s toolbar and menu path is shown as Mesh Tools › Mesh › Shrink Wrap. The Mesh command, meanwhile, involves selecting objects and adjusting the mesh preview and options.
2. Balance density and accuracy in NURBS meshes
In mesh settings, more polygons generally mean a more detailed surface representation, but unnecessary density may not be desirable for mesh generation or file size. In the simple controls, the Density slider sets the density of mesh faces for NURBS surfaces. The documentation gives a default value of 0.5 and a valid range of 0 to 1. As the value increases, the polygon count goes up.
Each detailed control serves a different purpose. The values below are defaults or recommended ranges from the Rhino documentation; they are not mandatory targets for any particular project.
| Setting | Recommended value | Effect |
|---|---|---|
| Density | Default 0.5; range 0–1 | The polygon count increases as the value rises. |
| Maximum angle | Default 0°; recommended range 5°–90° | Can increase mesh density in areas of high curvature; a value of 0 disables the criterion. |
| Maximum aspect ratio | Default 0; recommended range √2–100 when used | Lower values produce more evenly shaped faces; processing may take longer and the polygon count may increase. |
| Minimum edge length | Default 0.0001 system units | Higher values can produce faster, less detailed meshes with fewer polygons. |
| Maximum edge length | Default 0 | Smaller values result in slower processing and more polygons. |
| Maximum distance, edge to surface | Default 0 | Smaller values produce a more detailed mesh that lies closer to the surface; processing may take longer. |
Maximum angle works independently of object size for objects of the same shape and tends to increase density in areas with high curvature. Maximum edge length and Maximum distance, edge to surface depend on model scale. For this reason, it is best to preview the actual geometry first when working on projects with different model sizes. Minimum initial grid quads sets the minimum number of quads in the starting grid for each surface; the documentation gives a default of 0 and a recommended range of 0–10000. On surfaces with fine detail, this setting can help ensure there are enough initial polygons.
3. Check how the mesh relates to surfaces and seams
When Refine mesh is enabled, Rhino iteratively subdivides quads to meet the Maximum angle, Minimum edge length, Maximum edge length and Maximum distance, edge to surface criteria. With this option off, the mesh may be generated faster and with fewer polygons, but accuracy is reduced. According to the documentation, refinement is disabled for extrusion and ruled surface objects.
The Jagged seams option meshes joined surfaces separately and does not join the mesh edges between them. This can produce a faster result with fewer polygons, but gaps may appear at the seams and the polysurface mesh may not be closed. Check the effect of this option when you need a closed, watertight mesh. Rhino joins meshes from joined surfaces when Jagged seams is off. Simple planes meshes the edges of planar surfaces and fills the interior with triangles; this can result in slower processing and more polygons for complex trimmed surfaces.
4. Adjust ShrinkWrap settings for the task
In ShrinkWrap, Target Edge Length determines the approximate edge length of the output mesh. The default length is calculated automatically. Increasing Polygon Optimization allows edge lengths to deviate further from this target. As the optimization percentage increases, more faces are reduced, while faces on sharp edges are preserved.
Offset moves the mesh outward or inward in model units. A positive value expands the mesh and increases the face count, while a negative value shrinks the mesh and reduces the face count. A Smoothing iterations value of 0 turns smoothing off; higher values can smooth the mesh further and reduce the face count.
The Inflate Vertices and Points option is important when generating output from point clouds or mesh vertices. It is on by default for point and point-cloud inputs, and off for other object types. Intersecting inflated meshes can merge into larger meshes. Fill holes in input objects closes holes in the input before creating the mesh; however, review the result, as it may also close micro-gaps that were left intentionally. If input colors need to be preserved, Compute vertex colors can transfer mesh colors and point-cloud display colors to the mesh.
What changes in architecture, interiors and visualization workflows?
Those preparing exportable meshes from NURBS-based architectural geometry can adjust polygon density to suit the model’s level of detail and intended use. Those working with scan data or geometry that is difficult to repair can make use of ShrinkWrap’s closed-mesh generation and point-cloud processing options. In both cases, the preview is useful for assessing density and shape before creating the final mesh.
Lower density may be enough for visualization in offices, while watertightness and surface proximity may matter more for 3D printing or accurate transfer; the appropriate values depend on the geometry. Before delivering a file, check the seams, holes, edge lengths and polygon count. Since increasing mesh density can slow processing, consider the preview and the target file use together before adding detail.
Common mistakes
Setting Density or the polygon count to the maximum for every model can create unnecessarily dense meshes.
Do not assume that
Jagged seamswill leave the mesh closed; this option can lead to gaps at joins.Using
Fill holes in input objectswithout checking it can close small gaps that were left intentionally.Confusing positive and negative offsets in ShrinkWrap can keep the mesh from expanding or shrinking in the expected direction.
Do not confuse the mesh shown in the render view with an editable mesh: according to the Rhino documentation, meshes shown in shaded viewports are not directly editable; they can be extracted with
ExtractRenderMesh.
Sources
2 sourcesSource texts are not republished; short quotes are marked, everything else is our own summary and commentary.
Having separate Mesh and ShrinkWrap settings for different purposes in Rhino 8 gives architecture offices and visualization teams the ability to prepare output without relying on a single density setting. ShrinkWrap’s capabilities may be especially useful for those working with point clouds and geometry that is difficult to repair. However, a higher polygon count does not always mean a better result; processing time and the file’s intended use should be considered together.
For teams in Turkey, the best approach is to choose settings based on the delivery format and check the result in the preview. The software version is Rhino 8; the source documentation does not specify licensing or hardware requirements. If a closed mesh is needed, review the seam settings; if using ShrinkWrap, also check the offset and hole-filling options before delivery.
Frequently asked questions
What is the difference between Mesh and ShrinkWrap in Rhino 8?
Mesh creates meshes from NURBS surfaces, polysurfaces and SubD objects. ShrinkWrap can also create a mesh around meshes, point clouds and point objects.
Which setting should I check to create a closed mesh in Rhino?
The Mesh command states that a mesh created from solid geometry will be closed. With joined surfaces, gaps may appear at seams if `Jagged seams` is enabled, so check the effect of this setting.
What does offset do in ShrinkWrap?
Offset expands or shrinks the output in model units. A positive value expands the mesh and increases the face count; a negative value shrinks the mesh and reduces the face count.