In brief
- Picture creates a rectangular planar surface with the selected image assigned as its material.
- The image plane preserves the image’s aspect ratio.
- Scale, Scale1D, Scale2D, and ScaleNU offer scaling options in different directions.
- Locked objects remain visible and snappable, but cannot be selected for editing.
This guide brings together the Picture, scaling, and locking features described in McNeel’s Rhino 8 documentation. The goal is to add an image to a scene as a reference during drawing or modeling, adjust its size as needed, and prevent it from being changed accidentally. The commands and options described are based on the Rhino 8 documentation; the workflow presented here is a practical suggestion for using these features together.
1. Place a reference image with Picture
Run the following command in the command line. If an image is on the clipboard, you can also press Ctrl+V to start creating a Picture.
PictureAfter selecting an image file, specify the first corner of the rectangular plane, then select the opposite corner or enter a length. Rhino preserves the image’s aspect ratio and adjusts the plane’s other dimension accordingly. This prevents the reference from being stretched during placement. Selecting the first and opposite corners is the basic way to position and size the image in the workspace.
The command also offers other placement options. For example, Center lets you define the plane using a center point and a corner, while 3Point uses two adjacent corners and a point on the opposite side. If you need to place the image at its print size, the 1to1 option uses the print dimensions calculated from the bitmap’s pixel dimensions and resolution. With this method, the result depends on the resolution information in the image file.
2. Check the image material and appearance
Picture creates a planar surface with the image assigned as its material and sets the object to a mode similar to the Rendered display mode. Isocurves and edges are turned off for Picture objects in all display modes. The Picture material can be edited in the Materials panel; dragging an image file onto a Rhino object also creates a Picture material, using the file name as the material name.
Choose material options based on how you intend to use the image. When Self-Illumination is enabled, the image appears at full intensity and is unaffected by light or shadow. Grayscale converts the image to 256 shades of gray. For transparency, you can use the file’s alpha channel or specify a color as a mask. However, the documentation states that transparency is not supported for JPEG, PCX, or Windows Bitmap files. The image texture’s tiling setting cannot be changed.
3. Choose a scaling method for the object
To scale selected objects up or down by the same amount in all directions, use this command:
ScaleYou can specify a base point and enter a scale factor, or select two reference points. To change an object’s current size to a specific size, you can define the original measurement using two reference points, then enter the new size for the second reference point. You can also use the center of the selected objects’ bounding box as the base point.
If you need to change the size in just one direction, use Scale1D; for equal scaling in two directions, use Scale2D. With Scale1D, the other directions do not expand or contract; entering 0 for the scale factor flattens the object in the selected direction. Scale2D applies equal scaling in two directions along the active viewport’s construction plane axes. To enter different values for all three axes, use ScaleNU; the X, Y, and Z scale factors are set separately. For axes where the scale factor is to remain at 1.0, you can use the default option.
4. Lock the reference to prevent editing
If you want an image or another object to remain visible but not be selectable for editing, use:
LockAccording to the Rhino documentation, locked objects remain visible and accessible through object snaps, but cannot be selected. This can make it easier to work with a reference without losing sight of it. Keep in mind that you can snap to locked objects: locking an object is not the same as hiding it from the scene. To lock all objects on a layer, you can use the Layer dialog box.
To edit a single locked object again, use the command that unlocks selected locked objects:
UnlockSelectedTo unlock all locked objects, use:
UnlockThe documentation lists Ctrl (CMD) + L as the Lock shortcut and Ctrl (CMD) + Alt + L as the Unlock shortcut. Since you can snap to locked objects, check the snapping behavior against your needs when drawing over a reference.
5. Apply the workflow to architecture and visualization
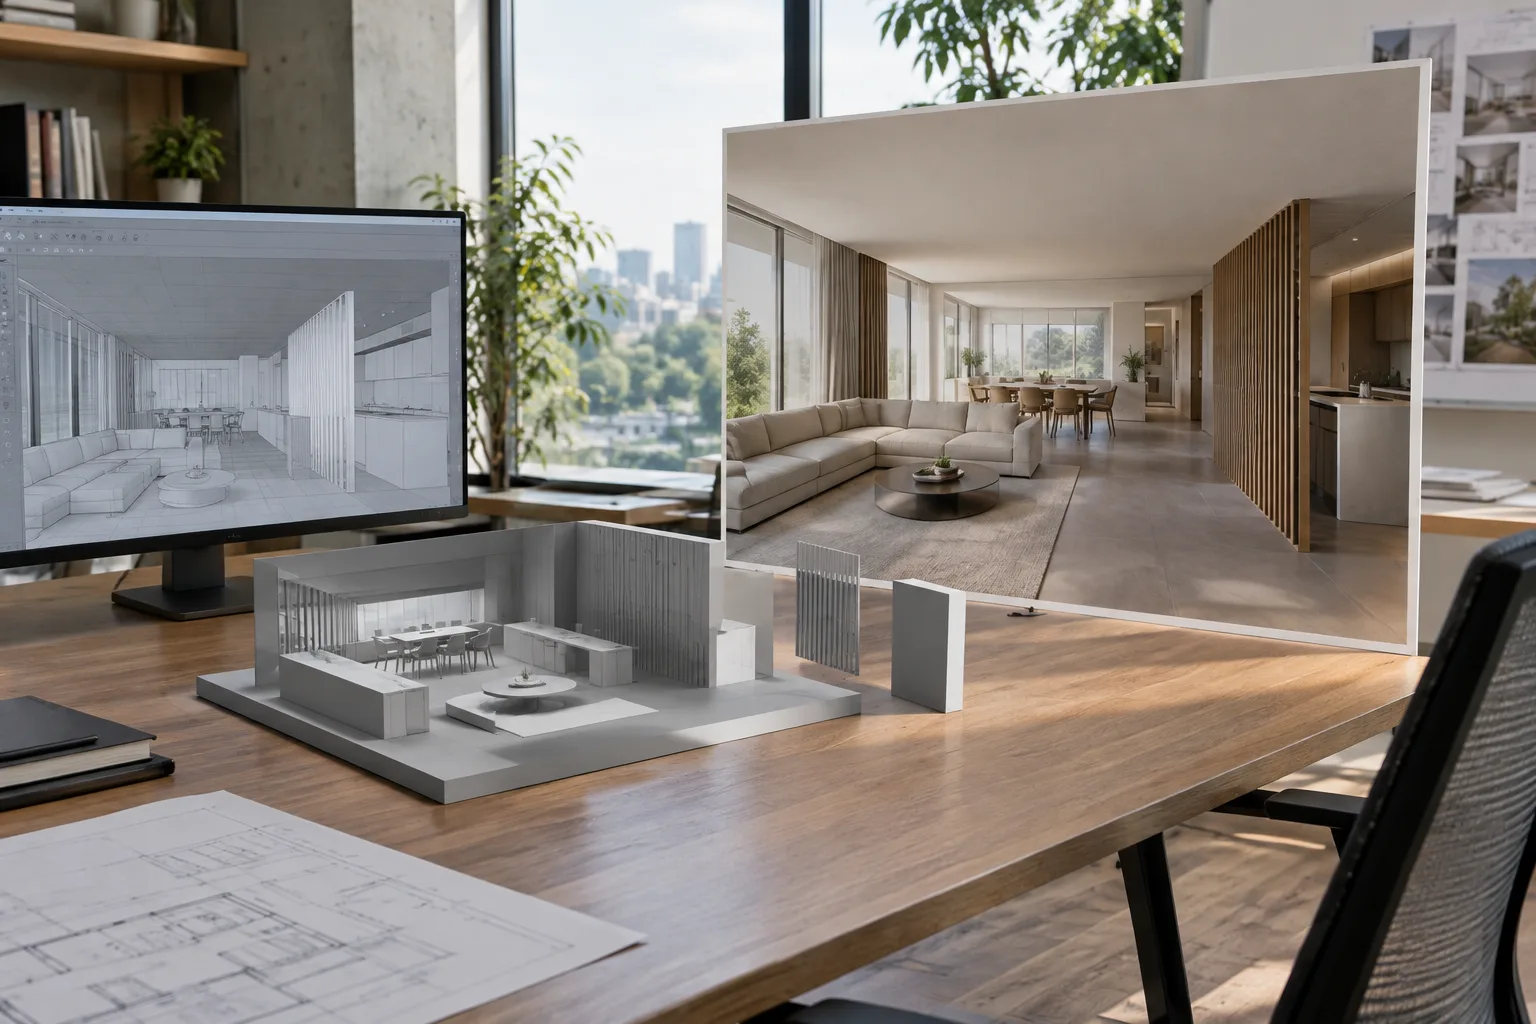
Placing a plan, elevation, or visual reference using Picture, then adjusting its size with scaling commands, is a combination of uses supported by the Rhino 8 documentation. If the reference needs to remain in the scene but not be edited directly, you can add a locking step. This approach may be useful, especially in workflows where reference images and model geometry share the same workspace; this is a workflow suggestion inferred from the documented behavior of the commands.
The goal determines which scaling option to use: choose Scale for uniform resizing, Scale1D for a change in only one direction, Scale2D for equal changes in two directions, and ScaleNU for different factors along the axes. Preserving the aspect ratio automatically when first placing the plane may not eliminate the need to resize the image later; you should separately check its physical or in-model dimensions. The documentation does not specify units, hardware, licensing terms, or a recommended scale factor for a particular project, so no fixed value can be inferred for these.
Common mistakes
Confusing the dimensions of the Picture plane with the image’s pixel dimensions: 1to1 calculates print size from the resolution and pixel dimensions.
Assuming that locking hides an object: locked objects remain visible and snappable.
Using the same scaling command for every size change: the commands behave differently for scaling in one direction, two directions, or different amounts in three directions.
Assuming transparency works with every file type: the documentation states that it is not supported for JPEG, PCX, or Windows Bitmap files.
These steps are limited to features covered in the Rhino 8 documentation. The sources do not explain whether the interface or behavior differs in other Rhino versions, so it is a good idea to check the documentation for the version you are using before applying the workflow.
Sources
3 sourcesSource texts are not republished; short quotes are marked, everything else is our own summary and commentary.
For architecture and visualization offices in Turkey, these three features offer a practical combination that can help prevent accidental edits while keeping a reference image in the model scene. In particular, the fact that locked objects remain visible and snappable makes the distinction between hiding and protecting work clear.
Still, it is important to choose a scaling method based not just on visual judgment, but also on the dimensions and axes required by the task. The sources provide no hardware requirements or licensing information, so it is not possible to infer any cost or performance benefits. Image transparency and snapping to locked objects should also be checked before use.
Frequently asked questions
How do you add a reference image in Rhino 8?
Use the Picture command to select an image file, then specify the first and opposite corners of the plane. If an image is on the clipboard, you can also press Ctrl+V to start the process.
Are locked objects visible and snappable in Rhino?
Yes. According to the Rhino 8 documentation, locked objects remain visible and snappable, but cannot be selected for editing.
Which command scales in only one direction in Rhino?
Scale1D changes the size in one direction; the object does not expand or contract in the other directions.