In brief
- RealityScan is installed via Epic Games Launcher and used for camera alignment in the D5 Render XR Tour workflow; a pricing plan must be accepted during installation.
- The steps of frame extraction from video or photos, alignment, and Component selection directly affect the quality of 3DGS training.
- The transforms.json and sparse_points.ply files exported from the correct component can be uploaded to D5 to shorten alignment time.
- D5 Render offers template strategies for different project sizes, with examples of 5 templates/967 images for villa scale and 6 templates/950 images for campus scale.
D5 Render's official user documentation describes a RealityScan-based camera alignment workflow for architecture and interior design offices to transform rendered scenes or real photo/video footage into an interactive 3D web experience. This guide brings together the steps, recommended settings, and common mistakes outlined in the documentation for teams looking to produce 3D Gaussian Splatting (3DGS) with the D5 Render XR Tour feature.
How to install RealityScan and start a project?
RealityScan is distributed through Epic Games Launcher. To install it, you first need to download Epic Games Launcher and sign in with an Epic Games account; RealityScan cannot be installed while logged out. In the launcher, open the Unreal Engine tab from the left menu, go to the RealityScan tab, select a version, and start the installation. On first use, the most up-to-date stable version is recommended by default. On the installation screen, the pricing plan shown in the interface and the end-user license agreement must be reviewed and accepted.
After installation, RealityScan is opened and an empty project is created on the WORKFLOW page. The documentation highlights the following points for data preparation:
Sufficient overlap should be left between neighboring images during capture, avoiding sudden angle jumps.
Motion blur, reflections, textureless wide surfaces, and sudden exposure changes should be kept to a minimum.
The project folder should be planned in advance; frame files should not be randomly moved afterward, so the image paths in the exported JSON file are not broken.
How to align cameras from video or photos?
A video file or photo folder can be dragged directly into the RealityScan interface, or the Images/Folder buttons in the top toolbar can be used. When a video is imported, the "Import Video Sequence" window opens and the frame extraction interval (Jumps' length(s)) is set.
| Setting | Recommended value | Effect |
|---|---|---|
| Jumps' length(s) | 0.5 seconds | Extracts one frame every 0.5 seconds; a shorter interval means more frames and longer processing time |
| Save location | Create a frame folder next to the video | Preserves the original frame folder required for 3DGS training |
Once the frames are extracted, the Align Images command is run; this step simultaneously performs feature detection, image matching, camera pose estimation, and sparse point cloud generation. When alignment is complete, the camera trajectory and sparse point cloud should be visible in the 3D view; most images transitioning to a "Registered" status is stated as the success criterion.
How to select the correct component and export the files?
If image groups cannot be fully connected during alignment, multiple "Component" sets may form. In the example in the documentation, Component 0 has 12/121, Component 1 has 107/121, and Component 2 has 2/121 cameras registered; the component containing the most cameras and that is geometrically correct (Component 1 in the example) must be selected. The JSON and PLY files must be exported from the same component, otherwise the coordinate systems and camera counts will not match.
Two files are produced in the export window:
Radiance Fields Transformation File → transforms.json
Sparse point cloud (Polygon File Format *.ply) → sparse_points.ply
Uploading to 3DGS training in D5 Render XR Tour
On the D5 Render side, in the "Create 3DGS from images/video" window, a project name is entered and Photos is selected as the source type. Then the three files produced from the same RealityScan component are uploaded: the original frame/photo folder created in Step 2, transforms.json, and sparse_points.ply. Uploading these two files is not mandatory; according to the documentation, if they are not uploaded, the project first waits for camera resolution and then enters 3DGS training, meaning ready-made JSON/PLY files speed up the process.
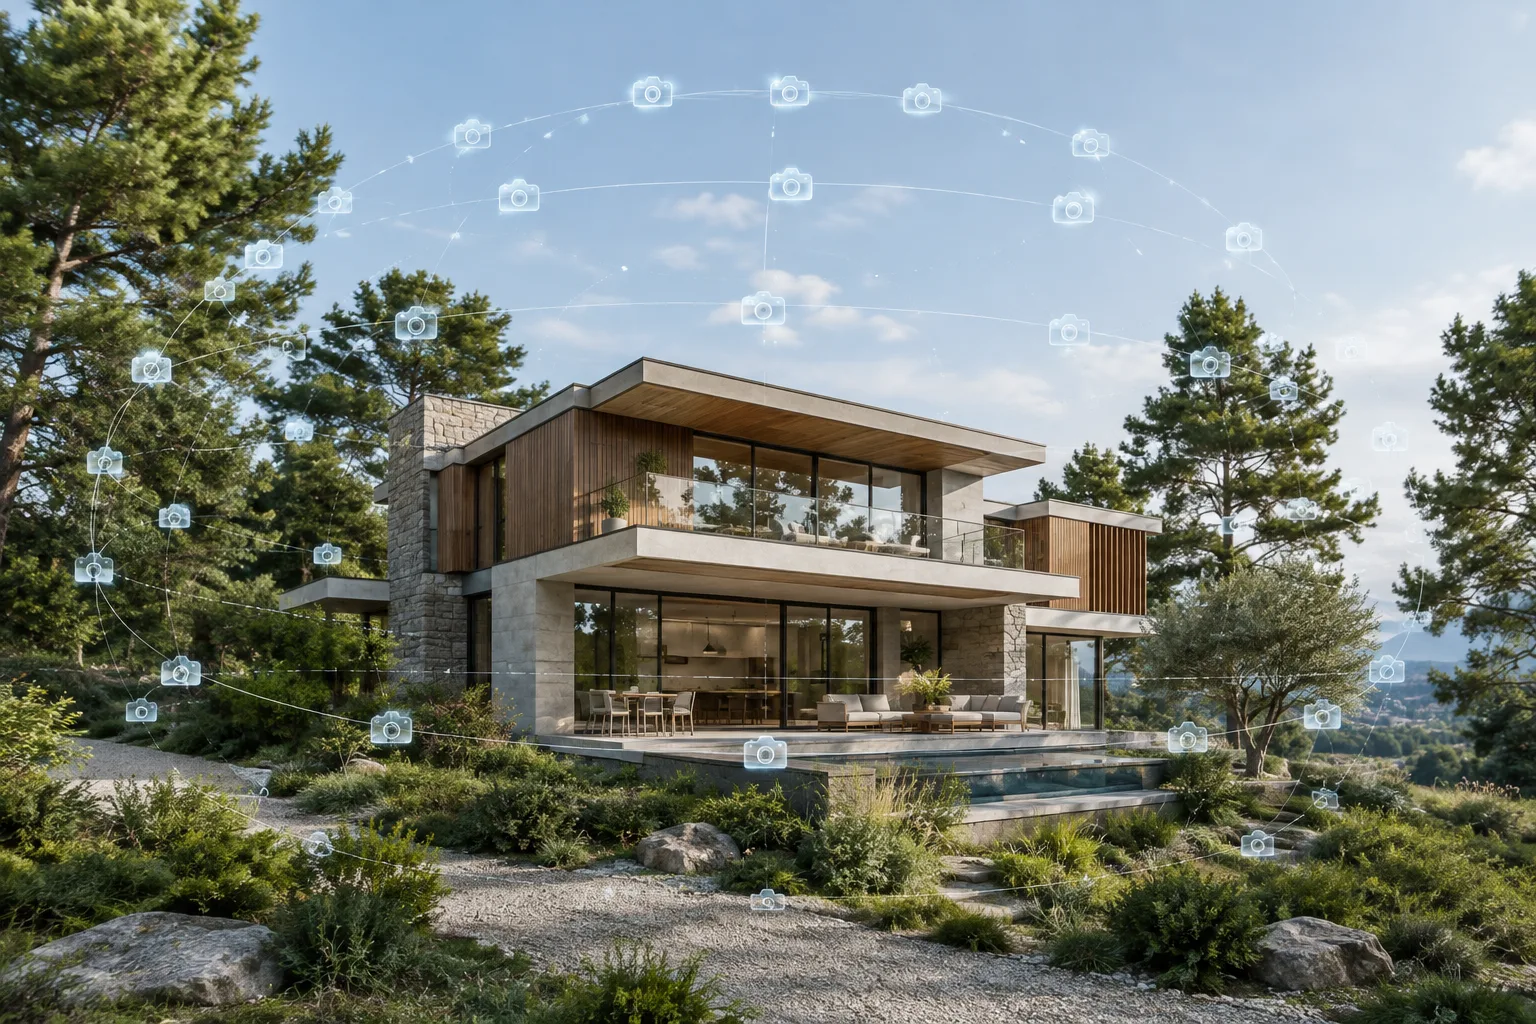
D5 Render also supports producing 3DGS sources by rendering the scene directly with hemisphere, cube, and sphere templates within XR Tour. The example projects in the documentation show the template strategy by scale:
| Project | Number of templates | Number of images |
|---|---|---|
| Villa with garden | 5 | 967 |
| Campus aerial view | 6 | 950 |
What does this mean for architectural visualization teams?
This workflow is suitable for offices wanting to turn both real field photos and scenes rendered in D5 into interactive 3D tours that can be shared with clients. On the hardware side, installing RealityScan requires Epic Games Launcher and an account; the installation screen requires accepting a pricing plan, so cost planning should be clarified before installation. Processing time can extend depending on the number of images, resolution, and disk speed. On the D5 Render side, bone animation is not supported in .fbx files (converting to .abc is recommended), and textures are not carried over in .abc files; these compatibility limits should be considered when planning the workflow. For projects requiring corporate/data security, local render files can also be shared offline without uploading to the cloud.
Common mistakes
Selecting the wrong or smaller component when multiple Components are formed; this leads to coordinate mismatch.
Exporting the JSON and PLY files from different components.
Renaming or moving the source video/folder during frame extraction or alignment, which causes image paths to break.
Leaving moving objects (people, vehicles, water) in the frame during capture; this causes ghosting and blurriness in the 3DGS result.
Sources
3 sourcesSource texts are not republished; short quotes are marked, everything else is our own summary and commentary.
For architecture and interior design offices in Turkey, the RealityScan + D5 Render XR Tour combination offers the opportunity to turn field photos or rendered scenes into interactive client presentations without a separate software investment. However, since it is stated that a pricing plan must be accepted during installation, teams need to clarify licensing/cost conditions before installation. The real bottleneck will be alignment and cloud training times that extend as the number of images increases.
On the other hand, file management discipline is critical: selecting the wrong Component or moving the source folder can restart the entire process from scratch. The most practical way for teams to avoid wasting time is to follow overlap and static-scene rules before capture, and to note the component numbers during the export step.
Frequently asked questions
How is alignment data transferred between RealityScan and D5 Render?
After alignment is completed in RealityScan, the correct Component is selected and transforms.json (Radiance Fields Transformation File) and sparse_points.ply (Sparse point cloud) are exported; these two files are uploaded to D5 Render's 3DGS creation window.
What is 3D Gaussian Splatting (3DGS)?
3DGS is a method that represents a scene with a large number of small Gaussian ellipsoids carrying position, color, size, and transparency information instead of classic polygon models; this data can be stored in a .ply or .splat file.
Which file formats can D5 Render import directly?
D5 Render directly supports formats such as SketchUp (.skp), FBX, Rhino (.3dm), Alembic (.abc), OBJ, Collada, 3ds, DXF, STL, glTF/glb, and Gaussian Splatting (.ply); it also enables live synchronization with Revit, 3ds Max, Cinema 4D, Blender, Archicad, and Vectorworks via the D5 Converter plugin.