In brief
- V-Ray Decal projects a material onto a surface from an adjustable volume, and its effect is visible at render time.
- Separate decals can be applied to terrain, the midground, and foreground rocks to control different areas.
- Exclude lists and the Order value determine which objects decals affect and how overlapping decals are layered.
- Bump, displacement, Normal angle, and Fade out angle settings help refine the appearance of snow in close-up areas.
What will you learn in this guide?
V-Ray Decal projects a material onto a target surface independently of its UV set. The projection takes place within a decal volume positioned in the scene, whose size and projection limits can be adjusted. The effect is visible in the render, not the viewport; a viewport preview can also be enabled.
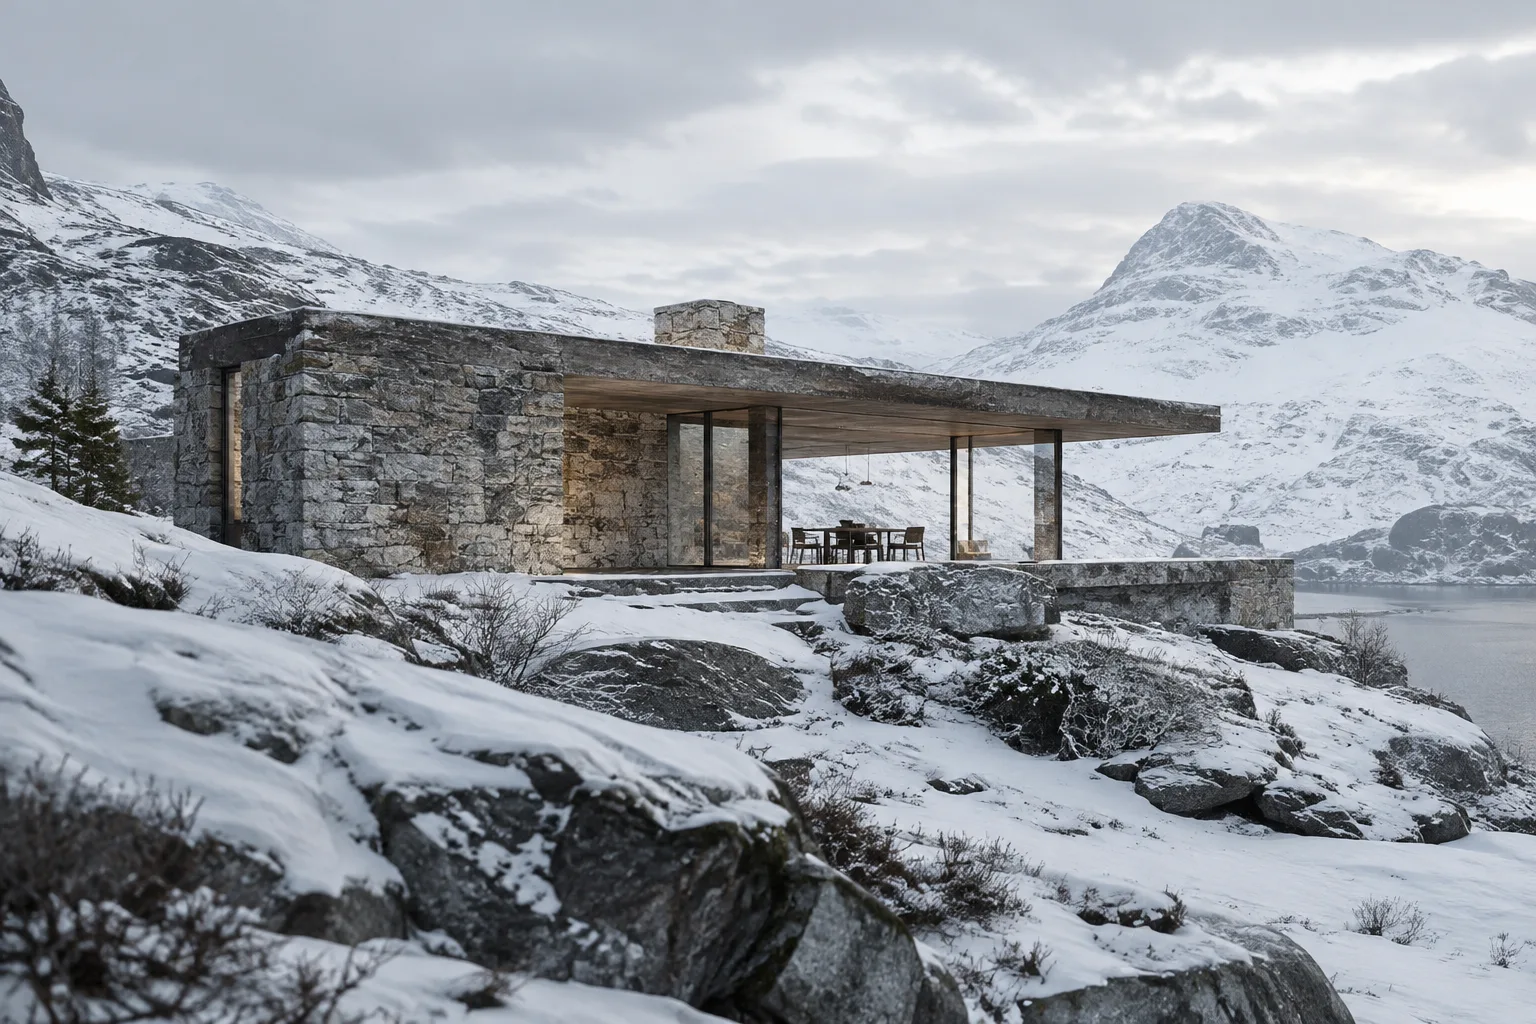
In this guide, you’ll follow an approach for applying layered decals to terrain and rocks, based on Chaos’s snow scene example for 3ds Max. The goal isn’t simply to turn a surface white, but to manage the level of detail separately for distant terrain and close-up geometry, soften decal boundaries, and balance surface relief.
Requirements and version notes
You’ll need a scene where you can use V-Ray Decal in 3ds Max, as well as a V-Ray installation capable of rendering. The official snow guide doesn’t specify a particular V-Ray or 3ds Max version, so don’t assume the example values belong to different versions. The source says that scene files are available to download and that those without a license can use the trial version; it provides no information about pricing or account requirements.
The example includes a simple outdoor scene with terrain, foreground rocks, and trees. Object names won’t be the same in every project, so select the corresponding geometry in your own scene when creating exclusion lists. The measurements in the guide are for its example scene and aren’t guaranteed to work directly with a model at a different scale.
According to Chaos documentation, starting with V-Ray 6, VRayDecal can read user-defined properties from the decal object when used with VRayUserScalar or VRayUserColor textures. V-Ray 6 also includes decal presets in Chaos Cosmos Browser. These aren’t required steps for this snow workflow.
Workflow: creating a snow covering with decals
Render the existing scene first. View the terrain, rocks, and trees without any coverings. This gives you a reference for comparing which areas the decals change and which geometry should be excluded. The guide recommends using separate decals for the foreground and background: close-up areas need more detailed materials, while distant areas can be kept simpler.
Place the first decal over the background terrain. Create a VRayDecal and position it to cover the terrain in the scene. In the example scene, Width and Length are set to 25.000 m, and Projection depth to 1.500 m. These values apply only to the guide’s scene; render your own scene to check whether the decal volume covers the geometry.
Limit the first decal’s coverage. In the decal parameters, use the Exclude option to exclude the lake, tree proxies, foreground rocks, and the group of bare trees. This keeps the broad terrain decal from covering these objects, so separate decals can be used for them later. Select the objects in your scene from the viewport, add them to the exclusion list, and verify the result in a render.
Add a second decal to the foreground terrain. Position a new decal to cover the foreground terrain. The example uses Width and Length values of 900 m and a Projection depth of 200 m. Set this decal’s Order value to 1 so it appears over the first decal. Add the tree proxies and rocks to this decal’s Exclude list so it affects only the intended terrain. Multiple VRayDecals can be layered, and a decal with a higher Order value appears over the other.
Set up a third decal for the foreground rocks. Create a separate decal to cover the rocks and the bare-tree group. The guide uses Width 20 m, Length 10 m, and Projection depth 15 m. Once its position is set, replace the default colors assigned to each decal with the final snow materials. In the Material Editor, create a VRayMtl and set its Diffuse and Reflection colors to white, RGB (245, 245, 245); lower Reflection glossiness to 0.6. Duplicating the material and assigning a separate one to each of the three decals makes it easier to manage background and close-up details independently.
Add surface detail to the close-up materials. The guide connects a VRayNoiseTex displacement input to the snow material on the second decal and lowers Displace multiplier in the material parameters to 0.1. For the large foreground rocks, it uses a separate VRayNoiseTex bump input and lowers the Bump multiplier on the relevant material from 30 to 20. This adds detail to the nearby snow surface while keeping the distant terrain simpler.
Adjust bump buildup and how the rocks are covered. Enabling Use only decal bump on the second decal disables the bump effect of the terrain material. Setting Surface bump on the third decal to 20 percent makes the snow bump visible while reducing the effect of the underlying rock bump. Then try setting the third decal’s Normal angle to 105, followed by 75 to achieve less coverage in the example. Enable Fade out angle; the guide says its value is 105 at this stage, then lowers it to 85 for sharper boundaries. Evaluate the result with a render after each change.
Common issues
If the covering affects objects you want to leave untouched, add that geometry to the relevant decal’s Exclude list. Check each decal’s exclusion list separately; the list for one decal doesn’t determine the coverage of another.
If the close-up surface looks too bumpy, consider how the terrain material’s bump and the decal material’s bump may build up together. The guide addresses this with the Use only decal bump option and the Surface bump percentage. Rather than changing these settings all at once without checking the scene, make adjustments while comparing render results.
If the snow doesn’t look natural around the edges of the rocks, consider the Normal angle and Fade out angle settings together. Fade out angle can’t be lower than Normal angle; it can be enabled to soften the transition, or reduced—as in the guide—for a more defined boundary. Also, when using a VRayDecal Mask, if the material has displacement, the mask must be connected to the dedicated slot in VRayDecal Parameters, not the material’s Opacity map slot.
If the decal isn’t visible in the viewport, remember that its effect appears at render time. If you want, enable a preview of the assigned material with the Preview option in the viewport; use the render to make your final assessment.
Next steps
Once the snow scene is complete, make the tree proxies visible. The Chaos guide recommends completing the composition with Cosmos trees that already have snow geometry; the same source specifically notes that VRayDecal displacement doesn’t work on proxies. Don’t expect the same displacement result on proxies.
The same layered approach can also be considered for scenes where you need to project different materials onto a surface without changing its UV layout. For curved surfaces, examine Bend; for a projection intersecting the surface, check Projection depth; and for multiple decals, adjust Order. Verify each parameter against the actual scene scale and render results.
Source and license
This tutorial has been adapted into Turkish with original phrasing, based on the technical information in Chaos’s VRayDecal documentation and its official “How to Create Snow with VRayDecal” guide. The sources state that the license type is free.
Sources
2 sourcesSource texts are not republished; short quotes are marked, everything else is our own summary and commentary.
For architecture offices and visualization teams in Turkey, the practical value of this method is that it lets them add a controlled material layer to surfaces without rebuilding the existing UV layout. Managing the different detail requirements of broad terrain and close-up rocks with separate decals and materials can also make the scene setup easier to follow.
However, the example measurements are for a specific scene and shouldn’t be used unchanged at different scales. The sources provide no information about license or hardware costs, so the existing V-Ray license and scene performance should be assessed separately before making a decision. The note that decal displacement isn’t supported on proxies is another important compatibility issue to test before production.
Frequently asked questions
Does V-Ray Decal work without a UV map?
V-Ray Decal applies the projected material independently of the target surface’s UV set. Its effect is visible at render time.
Can multiple V-Ray Decals be layered?
Yes. Decals can be layered; their Order values determine which decal appears on top.
Does V-Ray Decal displacement work on proxy objects?
According to a note in Chaos’s snow guide, VRayDecal displacement doesn’t work on proxies.