In brief
- Phasing can be used to show the progress of construction work happening in sequence or concurrently.
- View sets let you save and compare different lighting and object visibility states in the same scene.
- A Twinmotion video consists of keyframes that define camera views and parts that set the start and end of an animated sequence.
- Ambience settings can be applied to parts or keyframes, then copied to other keyframes in the same video.
Twinmotion’s Phasing and View sets tools can be used to present construction progress or different variations of the same scene. Epic Games’ documentation explains that these tools show and hide scene elements through the Scene graph, while video sequences are arranged using keyframes and parts. The steps below adapt the workflow described in the documentation for architecture, interior design and visualization presentations. Since the source documentation does not specify which Twinmotion version it applies to, no version number is given here.
1. Phasing or View sets?
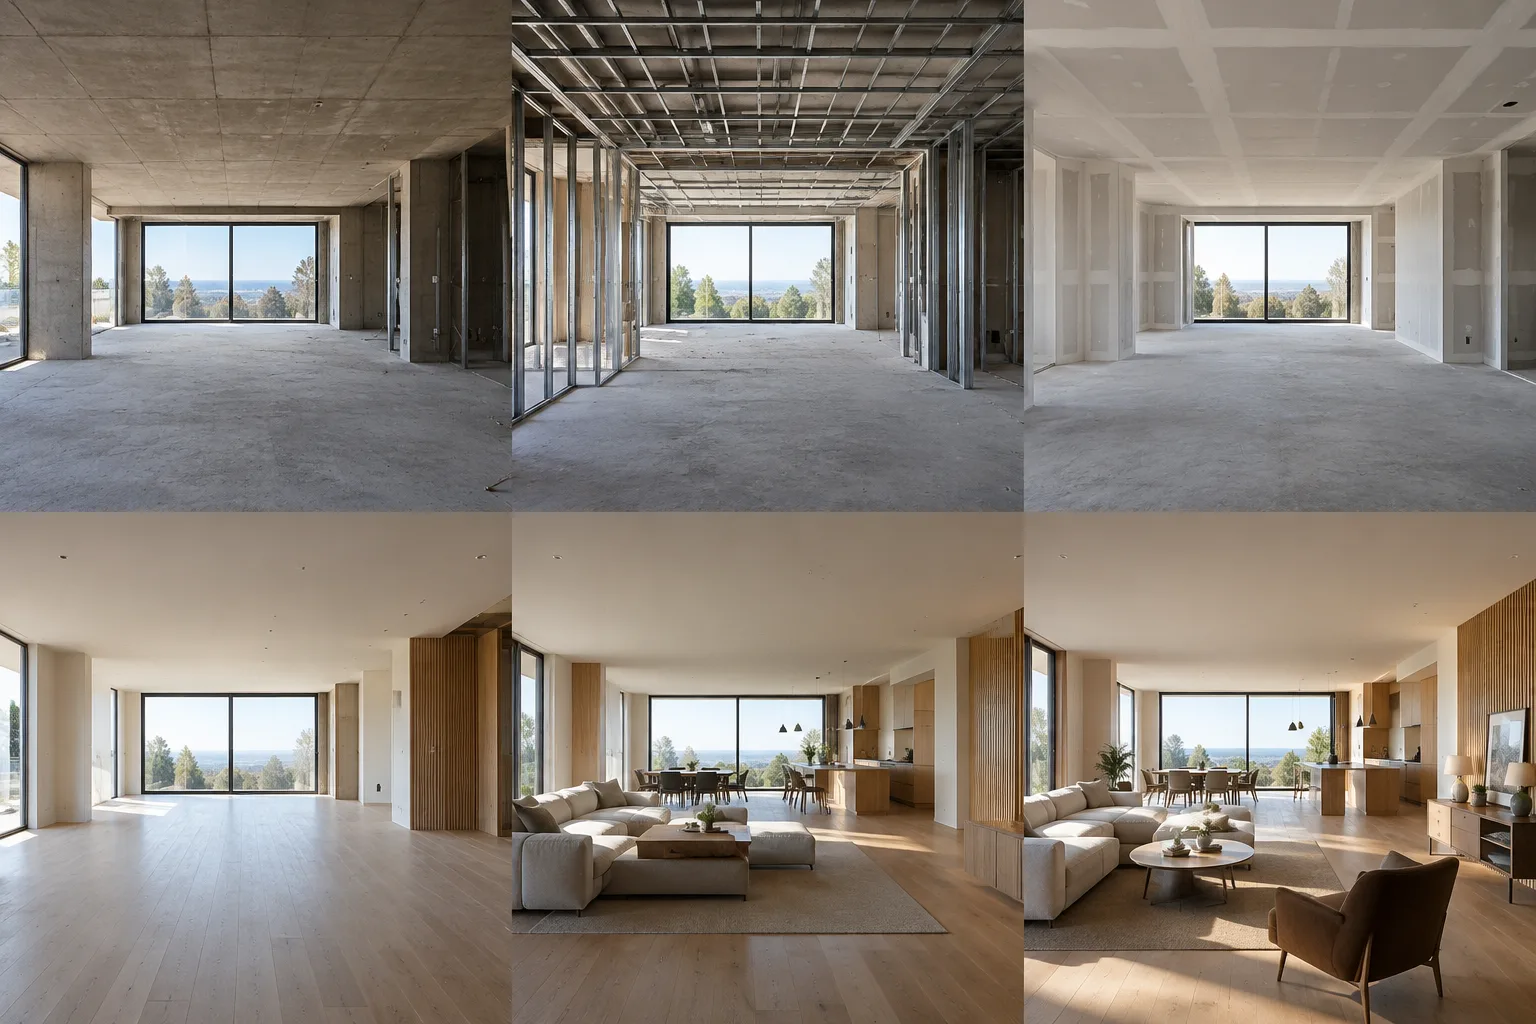
Use Phasing to explain the construction process. Construction work may progress consecutively according to the project schedule, or some tasks may happen concurrently. Phasing helps visualize this progress by showing or hiding scene elements according to stages. The tool can also be used to create time-lapse videos and sequences.
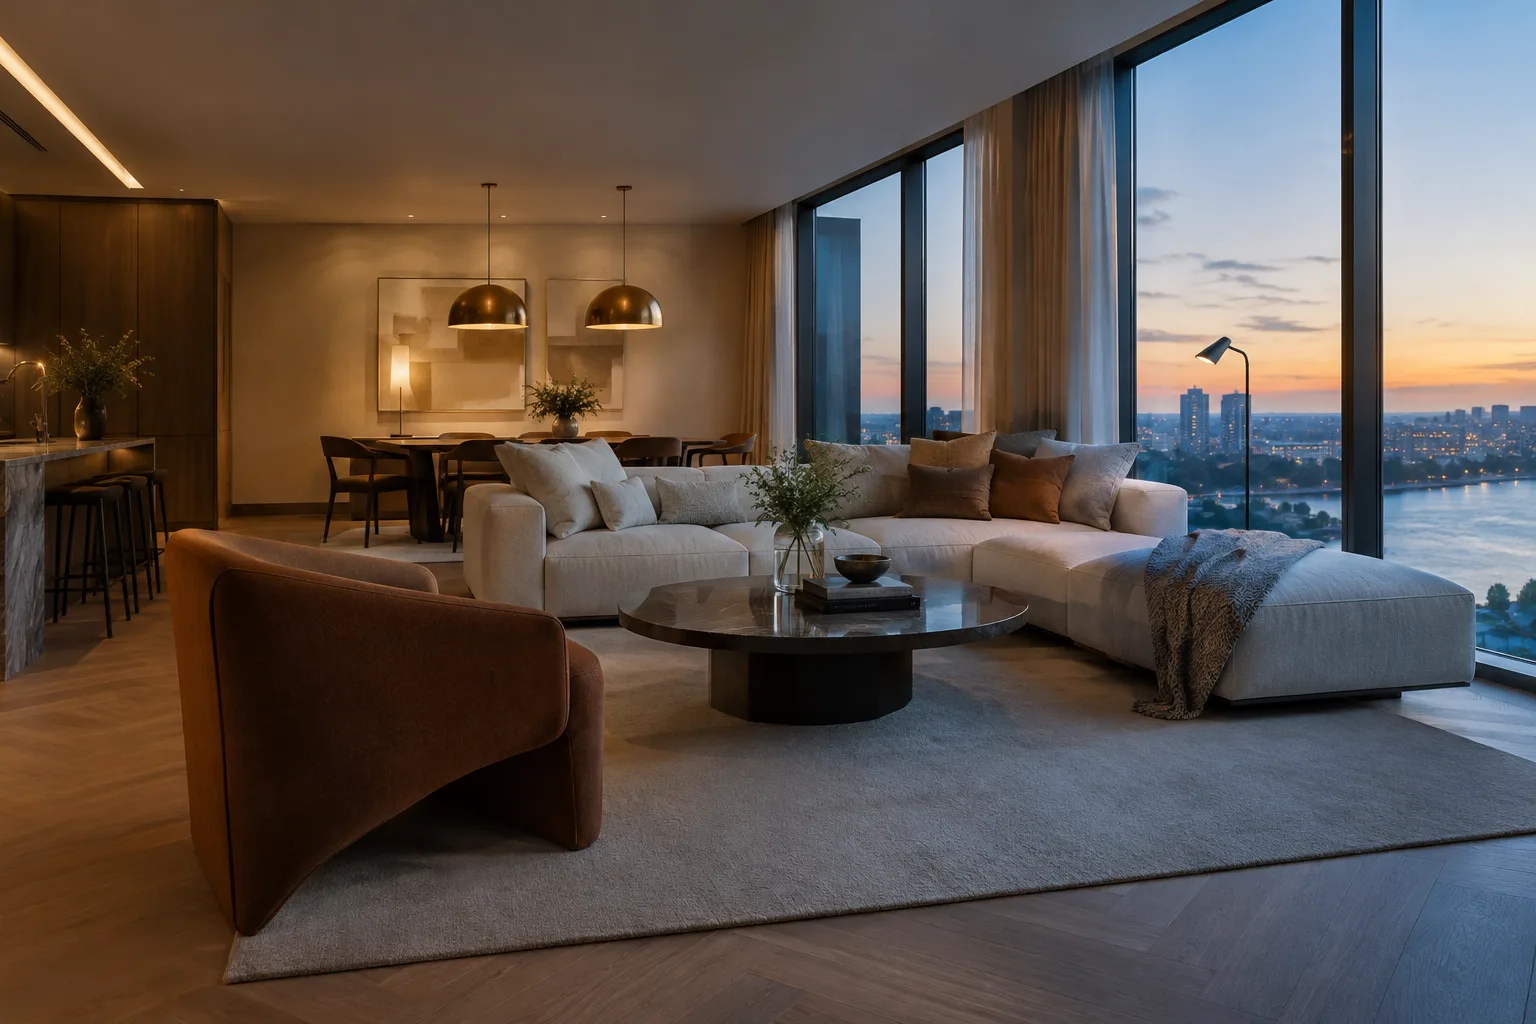
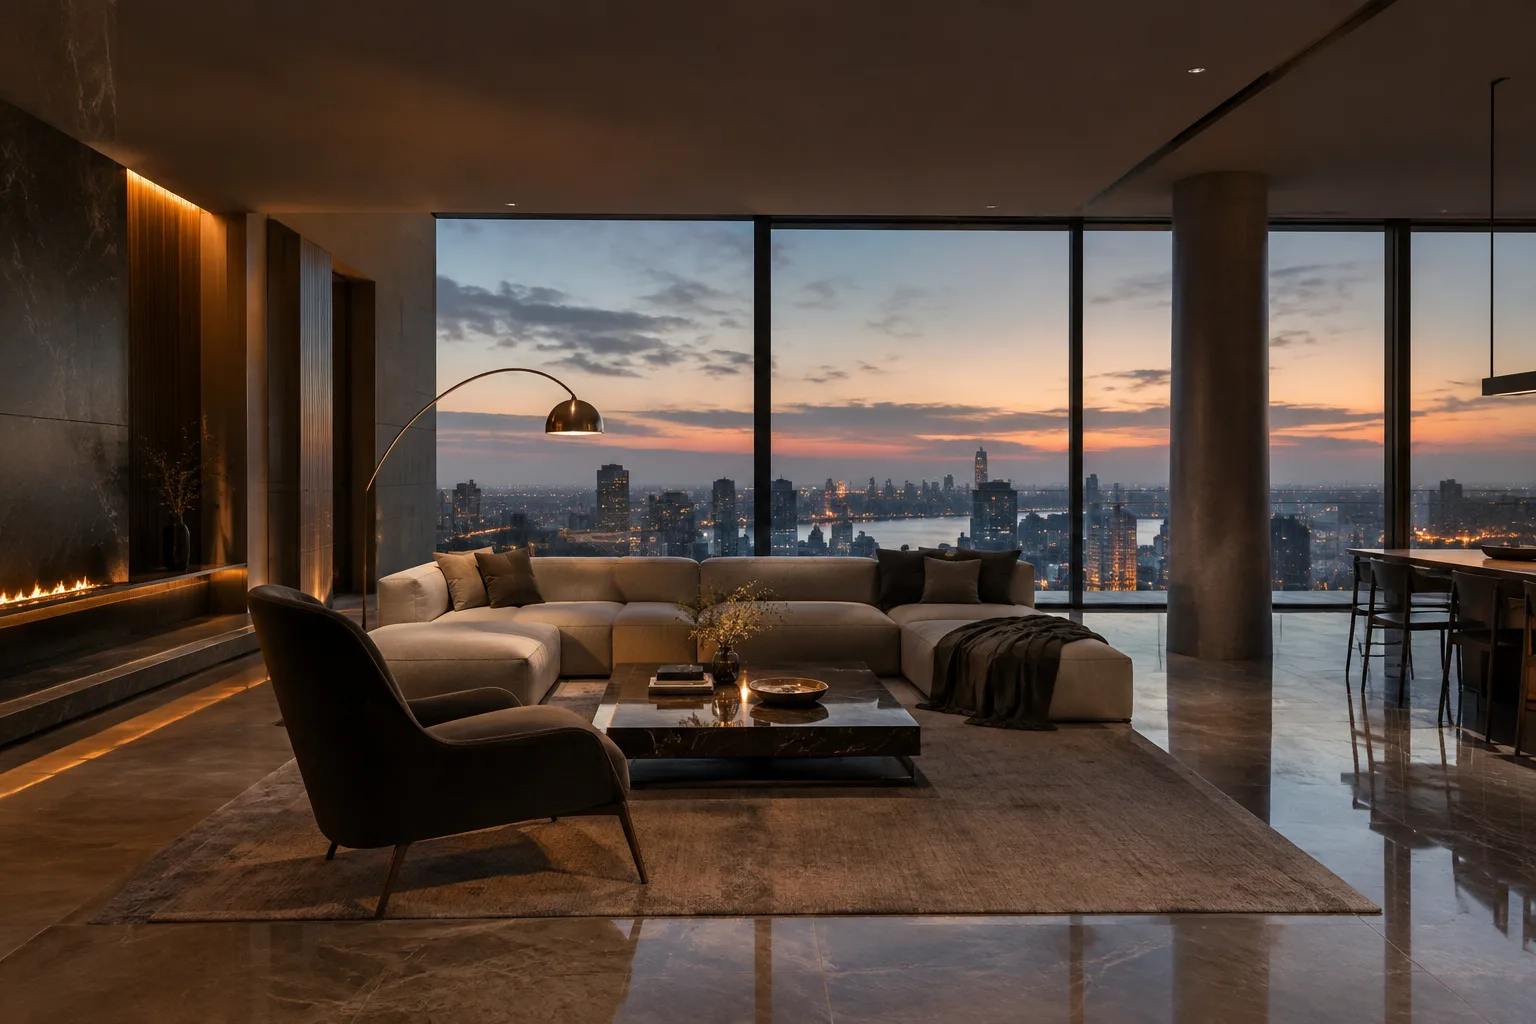
Create View sets to compare design options. Each View set is based on the same Twinmotion scene, but can store different lighting and object visibility states. This lets you present, for example, different lighting setups for the same interior or different combinations of objects in the scene, without rebuilding it for each option.
Control what each view contains in the Scene graph. When creating Phasing groups and View sets, you use this scene graph to determine which elements will be visible. Leaving visible the elements to be shown in a stage or alternative, and hiding those that do not belong in that view, makes the presentation easier to follow.
Consider the output early in the workflow. Phasing is suited to presenting construction stages in videos and sequences. View sets can be used with still images, panoramas, video parts and sequence keyframes, as well as in the scene itself. Although their functions can overlap, the tools serve different purposes: one divides progress into stages, while the other focuses on storing different scene states.
2. Set up stages or scene variations
Define a starting state. In the documentation’s example, the first view contains terrain and an excavator. In the next stage, the excavator is removed and other construction elements, such as workers or equipment, are added; in a later stage, a concrete slab becomes visible. This does not mean that every project must follow the same stages. The core approach is to reveal scene elements progressively to suit the needs of the presentation.
Adjust visibility stage by stage until the structure is complete. In each subsequent stage, make the relevant elements visible in the Scene graph. This lets you create a visual sequence from the initial state to the completed project. The Twinmotion Library includes scene elements such as excavators, building materials, cranes and construction workers; according to the documentation, these can be added to visuals that show progress.
Save alternatives as separate View sets. For each interior option, adjust object visibility and the lighting for that view. View sets let you preserve different states of the same scene and apply them when needed. You can use these views in video parts or keyframes, as well as in still images and panoramas.
3. Create a camera video and edit transitions
Set the opening view and add a video. Choose the camera’s starting position in the Viewport. Open Media from the Footer; in the Media dock, click the Video icon, then the Add video icon. Twinmotion creates the first keyframe and the first part. A keyframe is a specific camera view in the scene; a part represents the start and end of an animated sequence.
Add new views as keyframes. Move the camera to the next position in the Viewport and use the Create keyframe (+) icon to the right of the keyframe. If you need a new section of the presentation, select the opening view and click the Add video part icon; then add new keyframes to that part. Keyframes can be placed before or after an existing keyframe.
Choose transitions between sections and preview the result. To open a part’s menu, click the three-dot icon beside it and choose Collapse, or use the Collapse/expand parts icon to collapse sections together. Select Fade to black or Fade to white using the Transition icon within a part. Choose Cut to remove a transition. Play the video using the controls or by moving the playback line through the section.
4. Manage ambience and lighting changes
Apply ambience settings to the relevant part or keyframe. Select the part or keyframe you want to edit in the video. Click Settings for a part; select a keyframe to edit just that keyframe. When you change settings in the Env, Camera, Render or FX tabs of the Ambience panel, the changes apply to the selected part or keyframe.
Copy settings to similar keyframes. Choose Copy ambience from the menu of a keyframe with the settings you want, or use Ctrl+C on Windows or Command-C on macOS. Choose Paste ambience from the target keyframe’s menu, or select the keyframes and use Ctrl+V on Windows or Command-V on macOS to paste the settings. To select adjacent keyframes, click the first and last while holding Shift; to select non-adjacent keyframes, click them while holding Ctrl (Windows) or Command (macOS).
Set start and end settings for a time-lapse lighting change. Select the relevant part and open the Start / end ambience command from its three-dot menu. Edit the first keyframe’s settings under Start and the last keyframe’s settings under End. For example, you can create changes in light and shadow from sunrise to sunset in the scene using these two endpoint states, then preview them in the video.
These tools address different needs in architecture and interior design presentations: Phasing makes the construction process visible, while View sets let you compare lighting and object options in the same scene. Keyframes shape the camera narrative, while parts organize the video into sections. The sources do not explain hardware requirements, pricing, licensing terms or version compatibility. Offices should therefore check current compatibility and licensing information for the Twinmotion version they use.
Common mistakes
Don’t assume construction stages always happen consecutively; the source also notes that some tasks may happen concurrently.
Don’t confuse a keyframe with a part: the former defines a camera view, while the latter defines a section of an animated sequence.
Don’t describe View sets as a tool for saving material options; the documentation refers to lighting and object visibility.
Preview the video from beginning to end after changing settings, and check that the part transitions and ambience changes support the intended presentation.
Sources
2 sourcesSource texts are not republished; short quotes are marked, everything else is our own summary and commentary.
For architecture and visualization offices in Turkey, the practical value of View sets is that they make it possible to compare lighting and object options in the same scene without rebuilding it. Phasing can help present the construction process visually to clients or the project team. Copying ambience settings between keyframes can also reduce repetitive editing.
Before making this workflow a production standard, check the documentation and licensing terms for the version in use. The sources do not explain pricing or hardware requirements, so no firm conclusions about performance or cost can be drawn. Previewing scene visibility, transitions and the full video before presenting can help catch inconsistencies.
Frequently asked questions
How do you show construction stages in Twinmotion?
Create stages with Phasing and use the Scene graph to choose which elements appear in each one. Elements can be made visible at different stages to suit the project presentation.
What are Twinmotion View sets used for?
View sets let you save and compare different lighting and object visibility states in the same scene. They can be applied to images, panoramas, videos and sequences.
How do you create lighting changes in a Twinmotion video?
Select Start / end ambience from a video part’s menu. Edit the ambience settings at the Start and End points to adjust the opening and closing conditions.