In brief
- Without collision, a character can pass through a static mesh.
- Use spheres, capsules, or boxes for simple meshes; more complex shapes can use K-DOP, Auto Convex, or multiple simple collision shapes.
- For Auto Convex, Hull Count, Max Hull Verts, and Hull Precision affect the level of shape detail.
- Unreal Engine’s Navigation System generates navigation meshes from the collision geometry in a level.
This guide explains how to configure static mesh collision in Unreal Engine and how that geometry relates to the Navigation System, based on Epic Games’ official documentation. The documentation does not specify an Unreal Engine version, so menu and option names are reproduced as they appear in the sources. In architectural visualization, interactive presentations, and game scenes, collision determines how characters interact with doors, chairs, and other models.
1. Determine collision needs based on how the model will be used
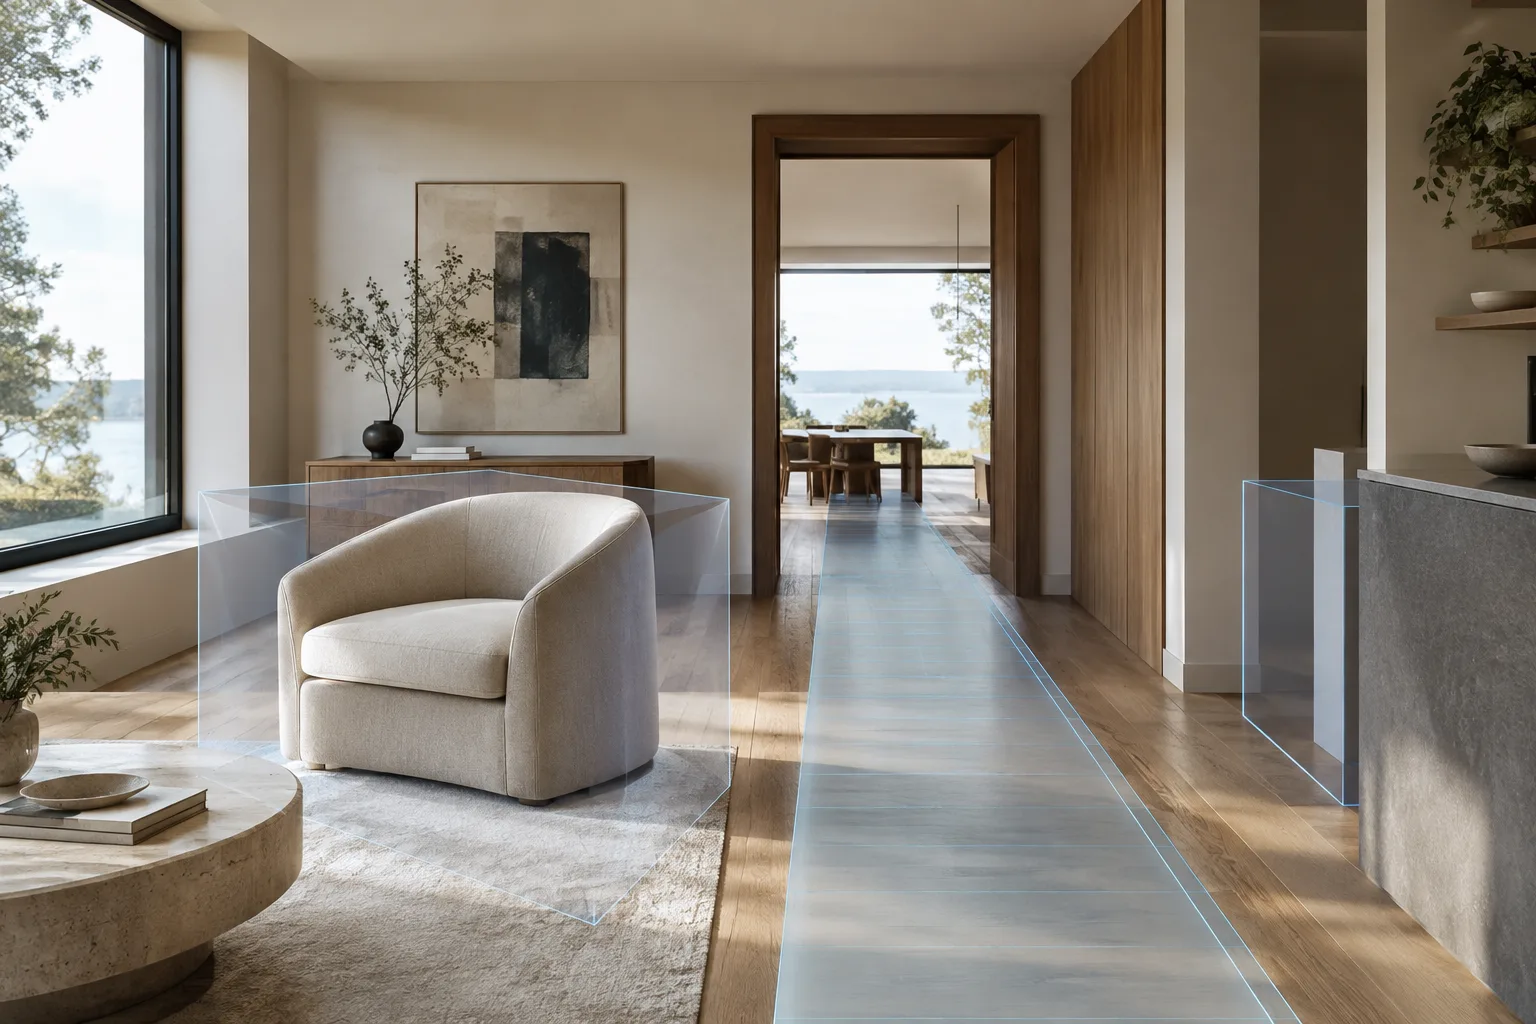
Without collision, a player or character can pass through a static mesh. Collision defines the boundary that allows a mesh to block or overlap other objects in the scene. This boundary does not always need to match the visible model exactly: a box or capsule may be enough for a simple object, while a chair that characters should be able to approach or sit on may require a more precise boundary.
First, decide what the model needs to do in the scene. A simple collision shape may be sufficient if a doorway needs to block passage. If a character needs to approach a chair or reach its seat, the collision may need to follow the model’s shape more closely. Epic’s example notes that simple shapes are suitable for objects that fit easily into a capsule or box, and for cases where precise collision is not important.
2. Add collision to simple models
Find the static mesh in the Content Browser and open it in the Static Mesh Editor. The source uses
SM_Doorfrom Starter Content; you can choose a suitable mesh in your own project.In the Static Mesh Editor, use the
Collisionmenu to add a simple collision shape: a sphere, capsule, or box.Check whether the resulting boundary fits the mesh well enough. Select the collision shape and adjust it with the move, rotate, and scale tools.
If you add multiple simple shapes, each new shape is added to the previous ones rather than replacing them. Select an unnecessary shape and press Delete, or use
Delete Selected Collisionin the menu. To clear all collision, useRemove Collision.
This method works well, for example, when you need to stop a player from passing through a simply shaped door. But a boundary that does not fit the model or takes up too much space can cause characters to get stuck unexpectedly. So it is important not only to add collision, but also to shape it for the model’s intended use.
3. Create a more suitable boundary for complex shapes
For an irregular shape, such as the open space beneath a chair’s seat, a single box or capsule may be too crude. The documentation describes using K-DOP options in the Collision menu, the Auto Convex Collision feature, or multiple simple collision shapes adjusted individually.
| Setting or method | Options in the documentation | Effect |
|---|---|---|
| K-DOP | 10-DOP, 18-DOP, 26-DOP | Creates boundaries that approximate the mesh, with different levels of beveling. |
| Auto Convex | Hull Count | Sets the number of pieces used to represent the collision shape. |
| Auto Convex | Max Hull Verts | Increases or decreases the number of vertices in the collision mesh. |
| Auto Convex | Hull Precision | Sets the number of voxels used to generate the collision mesh. |
When you select Auto Convex Collision, the Convex Decomposition panel appears in the Details panel. The documentation states that increasing Hull Count, Max Hull Verts, and Hull Precision creates a more accurate but more complex collision mesh; it does not recommend specific values. Instead of assuming there is one “best” number, aim for a shape that suits the model’s intended use, then apply the result with Apply.
Alternatively, you can add several simple shapes, such as boxes, and adjust their positions, rotations, and scales individually. In the documentation’s chair example, these pieces are positioned along the armrests, lower section, seat, and backrest. This can leave open the spaces that a single crude shape would otherwise block.
4. Physics, collision responses, and the navigation mesh
After adding collision, you can enable Simulate Physics for a static mesh. This setting is off by default in the Details panel for a mesh instance in the level. How the object responds to other actors depends on the Collision Presets selection. The documentation gives the example that selecting Overlap All can cause the mesh to fall through the level; a custom preset can assign block, overlap, or ignore responses to different object types.
In architectural scenes and interactive presentation workflows, these settings matter for movement through doors, navigating around furniture, and objects that participate in physics simulation. Unreal Engine’s Navigation System generates a Navigation Mesh from the collision geometry in the level and divides it into tiles and polygons. Costs assigned to polygons affect the routes AI agents prefer when moving toward a goal. The system can also connect navigation areas that are not adjacent and offers three generation modes: Static, Dynamic, and Dynamic Modifiers Only.
So evaluate collision geometry not only by its appearance, but also by how characters and agents need to move through the scene. The documentation does not provide specific values for each mode or hardware requirements for architectural projects. Bear in mind that more precise collision also means greater complexity, and verify the project version and available options with your team.
Common mistakes
Adding several simple collision shapes to the same mesh and assuming the previous shapes will be deleted automatically. New collision shapes are added to the existing ones.
Assuming one box will be suitable for every use of a complex piece of furniture. The boundary may block spaces that characters need to pass through.
Explaining physics behavior using only
Simulate Physics. The object’s response also depends on theCollision Presetssetting.Ignoring the collision geometry used by the Navigation System. The system generates the navigation mesh from this geometry.
Sources
2 sourcesSource texts are not republished; short quotes are marked, everything else is our own summary and commentary.
For architecture and visualization offices in Turkey, this approach can help make movement around doors and furniture more predictable in interactive scenes. Teams creating navigable presentations can plan collision boundaries during modeling to reduce access issues later.
However, the documentation explicitly notes that more detailed collision is more complex. Rather than applying the highest level of detail to every model, match it to the intended use. The sources do not specify hardware requirements, performance gains, or licensing costs. Teams should confirm that the options are available in their version of Unreal Engine and test physics responses and navigation behavior together.
Frequently asked questions
How do I add collision to a static mesh in Unreal Engine?
Open the mesh in the Static Mesh Editor and add a simple shape, such as a sphere, capsule, or box, from the `Collision` menu. For complex models, you can use K-DOP, Auto Convex Collision, or multiple simple shapes.
What do the Auto Convex Collision settings do?
Hull Count sets the number of pieces, Max Hull Verts sets the number of vertices, and Hull Precision sets the number of voxels used in generation. The documentation says that increasing these values creates a more accurate but more complex collision mesh.
Does Unreal Engine’s Navigation System use collision geometry?
Yes. The Navigation System generates a Navigation Mesh from the collision geometry in the level and uses it for agent pathfinding.