In brief
- The Shape Keys panel lets you create, reorder, and edit keys.
- In Relative mode, 0.0 represents the reference shape, while 1.0 shows the selected key at full influence.
- Shape Key values can be animated with keyframes or controlled by a driver.
- F-Curves in the Graph Editor determine the character of transitions between keys.
What will you learn in this tutorial?
Shape Keys in Blender let you define multiple shapes for a single object and blend between them. In this guide, we’ll create a starting shape and a modified shape for a mesh, control the key’s influence with its Value, and animate that value over time. Finally, we’ll look at how the transition curve affects the animation and cover common editing issues.
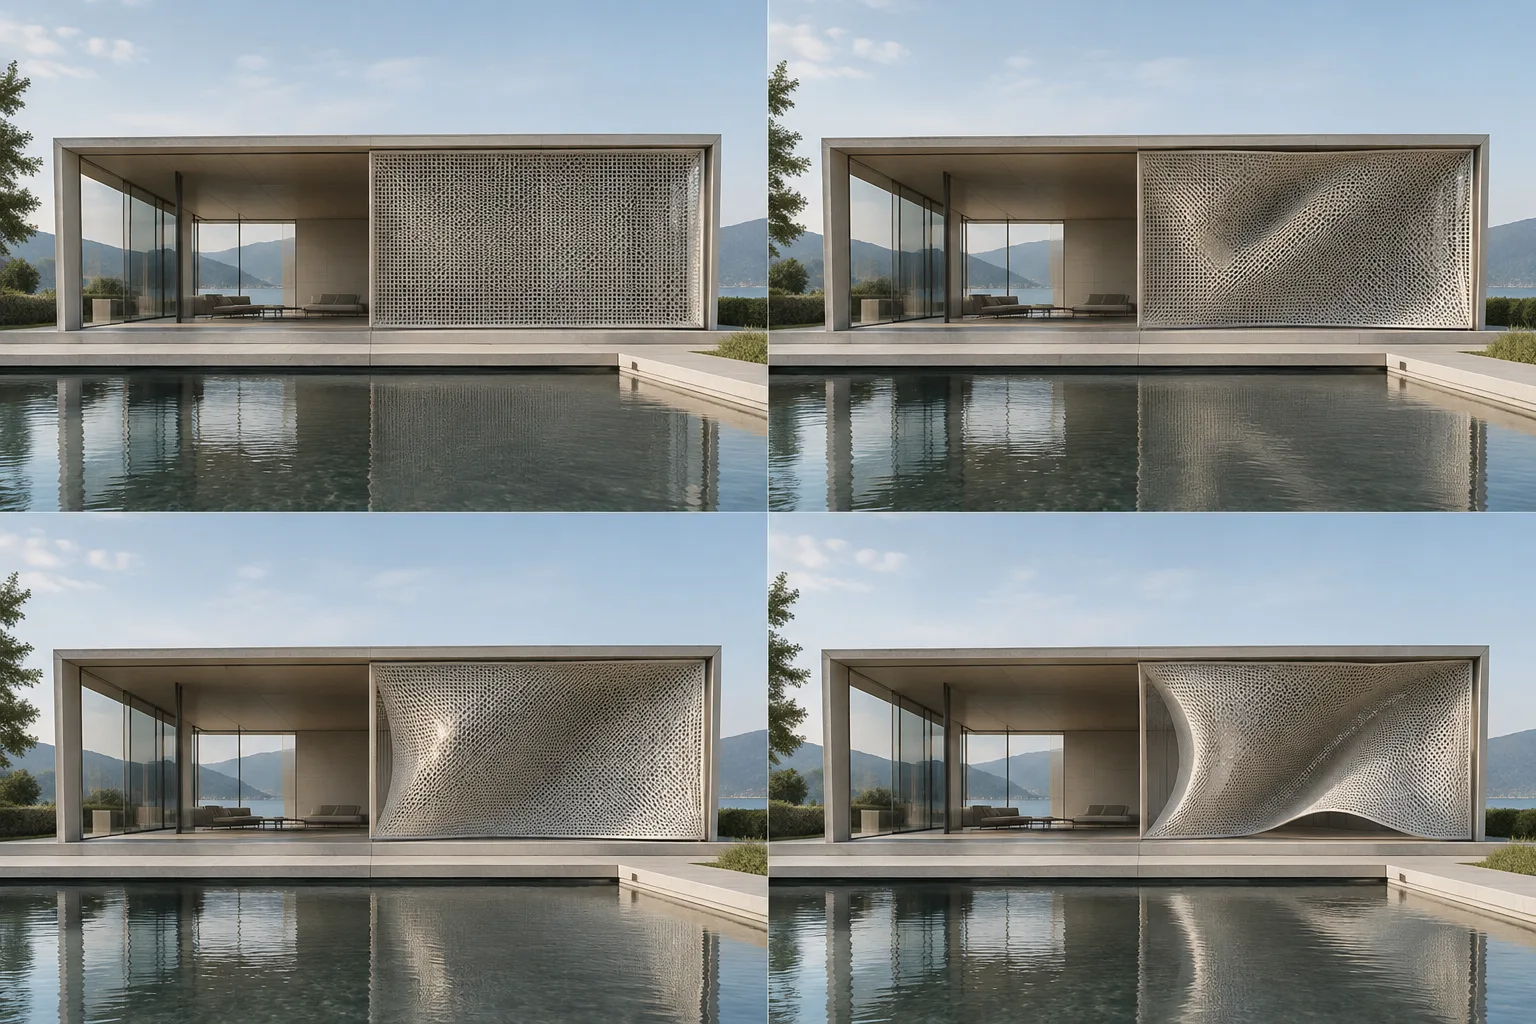
This method can be adapted to visual presentations showing, for example, a façade panel changing position or a piece of furniture transforming its shape. These are working ideas; the sources don’t provide a specific architectural model or ready-made project instructions. The aim here is to apply Shape Keys and keyframe principles using the tools described in the Blender manuals.
Requirements
This tutorial is based on the Shape Keys and keyframe documentation in the Blender 5.3 Manual. You’ll need an editable mesh object in Blender. The sources don’t specify hardware, account, add-on, or purchase requirements. The Blender manual locates the Shape Keys panel under Object Data.
Before you begin, decide on the model’s starting shape and which areas will deform. Although it’s possible to transition between very different shapes, keeping your first test to a single key and a clear deformation makes it easier to control. Review the model’s topology in advance, too: some copying and mirroring operations require the meshes involved to have matching topology.
Animate Shape Keys step by step
Prepare the starting shape. Set up the mesh as the reference for your animation. In Relative Shape Keys, the reference key is usually the Basis shape. Once you’ve established the starting geometry, open the Shape Keys panel under Object Data. The panel lists keys in a tree view; you can reorder them by dragging.
Create a new key. Add a copy of the Basis shape to the Shape Keys list and select the new key. Then edit the mesh into the second shape you want it to reach during the transition. For example, you could position a flat panel at a different angle to create a two-state façade element. Make sure the correct key is active while editing; the panel’s lock option can prevent some edits from being made to the wrong key.
Test the deformation with Value. In Relative mode, Value determines the selected key’s influence in the blend relative to the reference shape. At 0.0, the reference shape is used; at 1.0, the selected key’s shape is shown at full influence. Values in between blend the two shapes. Blender can also produce results below 0.0 and above 1.0, so check the mesh if you go outside this range.
If you need to break a complex deformation into sections, you can limit the active Shape Key’s influence with a vertex group. The key’s deformation will then affect the specified vertex group. Set up the basic transition first, then consider this limitation based on your model’s needs.
Animate the value over time. You can record property values at selected frames on the animation timeline and let Blender calculate the values between those records. In Relative mode, the property to animate is the Shape Key’s Value. Set a low value at the start and a higher value at a later frame to create a transition from the reference shape to the modified shape. The Shape Keys documentation also notes that, in Absolute mode, the Evaluation Time property can be keyframed or controlled by a driver.
You can view keyframes at a glance in the Dope Sheet. If the active object has a keyframe on the current frame, its name appears in yellow in the upper-left corner of the 3D Viewport. This visual cue helps you check which frames are keyed on the timeline.
Edit the transition curve. Blender calls animation curves F-Curves; you can view and edit them in the Graph Editor. In the Graph Editor, read the curve horizontally for time and vertically for the values of the animated property. Keyframes mark points on the curve; the shape of the motion between them is determined by the interpolation and curve settings.
Available interpolation options include Constant, Linear, Quadratic, and Bézier. Bézier curve shapes are controlled with handles. Extrapolation also determines how the curve continues before the first key and after the last. The source notes that, in addition to Constant and Linear options, the curve can be looped. If a transition looks unexpected, check both the key values and the curve shape.
Check in-between frames and the result of your edits. Review the animation not only at the beginning and end, but also at the frames in between. Confirm that the deformation stays in the intended areas and that the transition looks right. Reordering keys affects timing in Absolute mode, where key times are set at fixed intervals according to list order. If keys have been removed or reordered, you can reset timing with Re-Time Shape Keys.
Common mistakes and things to watch for
Editing the wrong key: Check which key is active in the list before you start editing. The Shape Key lock can prevent changes from being made by some sculpt and edit mode operations when the wrong key has been selected. However, the Blender manual notes that not all operations check the lock; most edit mode operations that change topology are not covered. For this reason, completing topology edits before working with Shape Keys is a safer workflow.
Failed mirroring or transfer between objects: The New from Objects Flipped operation requires the meshes whose data is being copied to have matching topology. The Flip option relies on exact symmetry, while Flip (Topology) finds corresponding points through topology; with the latter method, the mesh points don’t need to be perfectly symmetrical. Check the tool and mesh structure before using the operation.
Unexpected curve overshoot: The calculation of automatic Bézier handles depends on the Auto Handle Smoothing setting. None mode generally considers neighboring keys. Continuous Acceleration can take a wider section of the curve into account; as a result, a change to one key can affect a broader range, and overshoot is more likely with Automatic handles. Check the result in the Graph Editor as well as the 3D Viewport.
Impact on architectural and archviz workflows
Shape Keys let you keep different shapes on the same object and show a transformation through animation. For architects, interior designers, and archviz teams looking to visualize changing states of façade elements or interior furniture, this approach can help present a model’s shape variations in a single animation sequence. Because the influence of relative keys is controlled with Value, transitions aren’t limited to just two endpoint shapes.
Plan the scope of the deformation and the mesh layout before you start; remember that some Shape Key operations require matching topology. The sources don’t provide information about hardware, pricing, or licensing terms. Verify the tools in the Blender version used for your project, and review the in-between frames, animation curve, and key order before delivery.
Next steps
Complete your first exercise with a single Shape Key and a simple Value animation. Then compare how different interpolation options change the transition and inspect the curve in the Graph Editor. When you need additional shapes, you can duplicate keys, create a new key from an existing deformed shape, or explore other operations in the Shape Keys panel. If you’re considering using a driver, note that the source confirms this method is supported, but the setup steps aren’t covered in the documentation provided here.
Sources and license
This tutorial is adapted from the Shape Keys, Shape Keys Panel, and Keyframes Introduction documents in the Blender 5.3 Manual. All three sources are licensed under CC BY-SA 4.0; the content has been translated into Turkish and reworked in an architectural visualization context.
Sources
3 sourcesSource texts are not republished; short quotes are marked, everything else is our own summary and commentary.
Shape Keys offer a clear starting point for offices looking to animate changes to a façade element or a piece of furniture. Working on a single mesh can make it easier, especially for students and small visualization teams, to experiment with shape transitions.
For offices in Turkey, efficiency depends on preparing the model correctly: planning the topology and keys in advance can reduce later revisions. The sources don’t explain hardware, fees, or licensing terms, so it wouldn’t be appropriate to draw conclusions about purchase or system requirements. The version used for the project and the quality of in-between frames should be checked separately.
Frequently asked questions
What are Blender Shape Keys used for?
Shape Keys let you define different shapes for a mesh and transition between them. In Relative mode, the selected key’s influence is set with its Value.
Can you animate a Shape Key value in Blender?
Yes. According to the Shape Keys manual, values can be animated with keyframes or controlled by a driver.
Do you need matching topology for mirroring with Shape Keys?
Some operations require it. For example, New from Objects Flipped requires the meshes used in the operation to have matching topology.