In brief
- AutoTrack 5.1.2 offers moving-object tracking as a beta feature.
- For camera tracking, you can set the sensor size and approximate focal length; there’s also an option to refine the focal length.
- Annotation masks can be used to select areas to track or exclude problematic regions.
- Support for Blender 5.3 Alpha is among the new features in add-on version 5.1.2.
What you’ll learn in this guide
Placing a 3D object into live-action footage requires analyzing motion in the image and solving the position of the camera or a moving object. Blender’s Movie Clip Editor provides a workspace for this kind of work. The AutoTrack add-on aims to speed up some of the process by automating 2D feature-point tracking and camera solving.
This guide walks through starting a camera track, limiting tracking markers with a mask, and moving on to moving-object tracking once you’re satisfied with the result. The final section also covers creating a 3D surface from the solve and using Blender’s scene setup helper. An automatic solve doesn’t guarantee a correct result for every shot; the data still needs to be checked against the footage.
Requirements and version information
This workflow uses Blender’s Movie Clip Editor and the AutoTrack add-on. The add-on’s listing on Blender Extensions identifies version 5.1.2 as an update dated 27 September 2026. Support for Blender 5.3 Alpha is also noted for this version. Since the source doesn’t provide a detailed compatibility list for other Blender versions, it’s important to check that your chosen version works with the add-on.
The add-on listing says no special permissions are required. The source doesn’t provide information about pricing or whether a user account is needed. Choose the video file you plan to track in advance; the sources don’t specify a particular file format, resolution or minimum hardware requirement.
Step-by-step camera tracking
Open the footage. Load the shot you want to track in Blender’s Movie Clip Editor. Blender’s manual lists options to open and reload clips in the Clip menu. According to the manual, the
Pshortcut can fill the cache with image frames; this is one way to prepare the clip data before tracking.Open the AutoTrack panel. With the Movie Clip Editor open, press
Nto show the sidebar, then switch to the AutoTrack tab. The add-on page describes this panel as the main starting point for camera tracking.Set the camera parameters. Select the camera sensor and enter an approximate focal length. If you don’t know these values for the shot, you can use the focal-length refinement option listed for the add-on. If you have more precise camera calibration data, you can also enter the optical center and the K1, K2 and K3 radial distortion parameters. Using values that match the footage is important for an accurate solve.
Limit the tracking area. Draw a mask over the image using Blender’s Annotation tool. Then, in the add-on, use
Excludeto leave out potentially troublesome areas such as reflections or moving people, orOnlyto track just the masked region. Adding a mask is optional; you can skip this step for suitable shots.Start the camera solve. Click
Start Camera Tracking!. AutoTrack divides long shots into dynamic substeps in an effort to prevent markers from drifting over time. According to the add-on’s description, its two-pass solve first creates a solution, removes failed markers based on reprojection error, then produces the final solve. Check the result against the footage nonetheless; automation can’t always correct faulty or insufficient tracking data on its own.Evaluate the camera motion. Once tracking and solving are complete, check whether the markers follow fixed visual features in the shot. If you find problem areas, you may need to revisit the mask and run the track again. AutoTrack includes a Quick Resolve option to recalculate the solve after changes to focal length, sensor size or tripod settings. It’s designed to reduce the need to track the footage from scratch after every setting change.
Moving-object tracking and surface generation
AutoTrack’s object tracking is available as a beta feature. The main camera track must be solved before moving on to this stage. Then open the Object Tracking panel and add the object to track with Add Object Track. You can draw a separate mask for the object to limit markers to that region. To start tracking, use the add-on’s context-dependent button; it may include the name of the tracked object.
After solving, link the target 3D object in the scene using the Linked Object field. The Distance (Scale) slider adjusts the object’s scale and distance in 3D camera space. Once linked, check that the object’s motion matches its counterpart in the footage.
The add-on’s Surface Generator can create reprojected, textured 3D surfaces from solved point clouds. It can be used for both camera setups and moving-object tracking, and offers interactive controls for surface resolution and connection radius in the sidebar. This geometry can serve as a starting point for scene reconstruction or holdout preparation, but should be reviewed against the final project requirements.
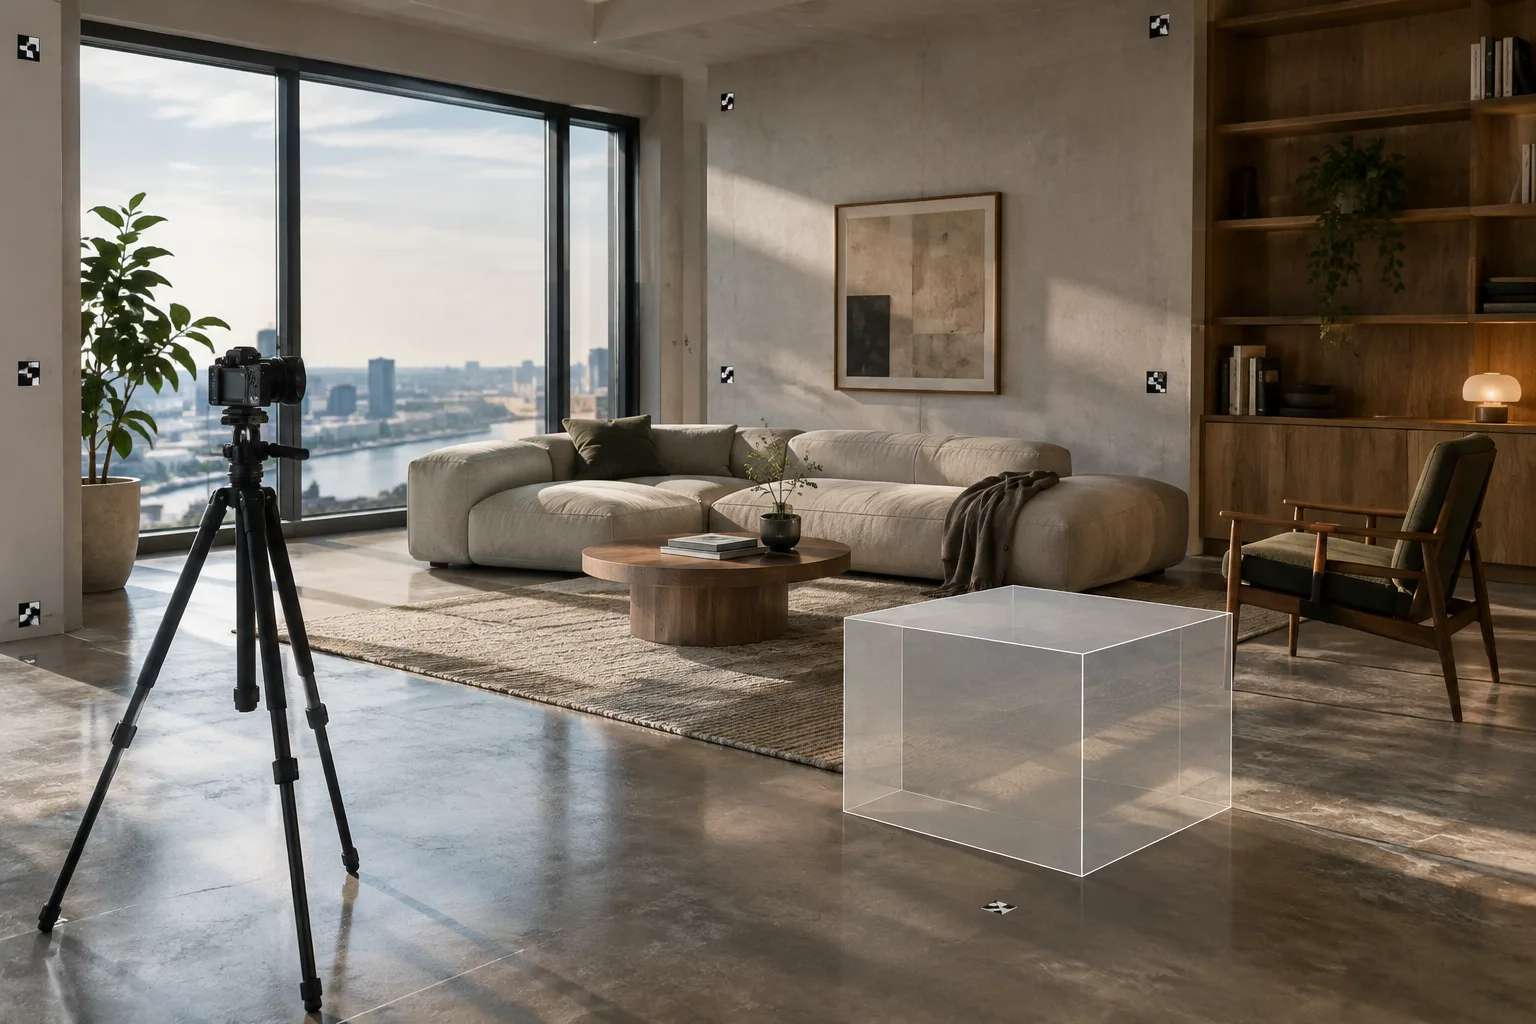
Blender’s own Setup Tracking Scene function also creates a starter scene for working with tracked motion. According to the official manual, it creates a camera, ground plane and test-cube references, as well as a basic compositor node tree that combines the footage with the rendered 3D scene. You can customize this setup for more complex compositing work.
Common issues and next steps
If markers are affected by problematic regions: Use a mask to exclude those areas, or track only a reliable region.
If object tracking won’t start: First confirm that the main camera solve is complete. The add-on can display a warning in the interface if you select object tracking before solving the camera.
If the result doesn’t match the footage: Recheck the focal length, sensor size and mask. The add-on’s Quick Resolve function can recalculate the solve after some camera-setting changes.
If the process takes a long time: Tracking time may depend on the amount of detail in the shot and the number of frames. A user review on the add-on page reports a long wait, and the developer notes that this may depend on the footage. The sources don’t guarantee a fixed processing time.
For architecture, interior design and archviz teams, this workflow can be useful for testing 3D elements that match camera movement in live-action footage, placing content on moving objects or generating surfaces from the surroundings. Before using it in a real project, keep in mind that a solve with an incorrect or undefined scale can undermine the composite. Footage quality, the accuracy of lens information, compatibility between the Blender version and the add-on, and licensing terms should all be part of production planning. For demanding shots in particular, test processing time and results on sample footage in advance.
Sources and licensing
Blender Manual’s “Clip” guide is licensed under CC BY-SA 4.0; this guide has been adapted based on the features described in the manual. The AutoTrack 5.1.2 listing on Blender Extensions was used as a reference for the add-on’s features and usage steps; the provided source doesn’t specify a content license for that listing.
Sources
2 sourcesSource texts are not republished; short quotes are marked, everything else is our own summary and commentary.
For architecture and visualization teams in Turkey, AutoTrack offers a promising starting point for placing 3D content into live-action footage. Its ability to solve camera motion and moving objects separately could make preparing composites easier. However, automation alone doesn’t guarantee that a shot has been solved correctly; checking the markers and scene scale remains important.
The source doesn’t explain the add-on’s price or provide detailed Blender version compatibility information. Before adding it to an office production pipeline, it’s therefore worth verifying the licensing terms and the Blender version in use, then measuring processing time with a short test shot. For students, it could also provide a hands-on way to learn about surface generation and camera solving.
Frequently asked questions
How do you use Blender AutoTrack?
Open the footage in the Movie Clip Editor, press `N` to show the sidebar and switch to the AutoTrack tab. Set the camera sensor and focal length, add a mask if needed, then click `Start Camera Tracking!`.
Can you track moving objects with AutoTrack?
Yes. The add-on’s object-tracking feature is available as a beta and requires the main camera to be solved first.
Which Blender version does AutoTrack support?
The AutoTrack 5.1.2 listing notes support for Blender 5.3 Alpha. The source doesn’t provide a comprehensive compatibility list for other Blender versions.