In brief
- Cycles offers panoramic camera types including equirectangular, equiangular cubemap, fisheye, and mirror ball.
- Panoramic camera views aren’t shown in non-rendered viewport modes such as Solid; you can check the result by rendering.
- Animation frames can be written automatically to the output path, while still renders need to be saved separately.
- Using PNG or OpenEXR image sequences makes it easier to resume rendering from the interrupted frame.
What You’ll Learn in This Tutorial
This tutorial covers what Blender’s Cycles panoramic camera types do, how to choose a suitable projection for an architectural scene, and how to configure render output. We’ll then look at the workflow of saving animation frames as separate images before assembling them into a video. This gives you a foundation for both 360-degree presentations and animation delivery.
The setting names used here are those found in the Blender Manual. Panoramic camera features are part of Cycles, and these cameras aren’t shown in non-rendered viewport modes such as Solid. To evaluate the view, you need to check the rendered output.
Requirements
You’ll need a scene created with Blender and Cycles. The source manual doesn’t specify a Blender version, so no version requirement is given here.
You’ll need a camera in the scene to use panoramic camera types. You can compare the different camera types using the same scene and framing.
Set an output location and file format for still renders, and a file path for animation frames.
The sources don’t specify any account or paid-license requirements for this workflow.
Step-by-Step: Panoramic Rendering and Output Setup
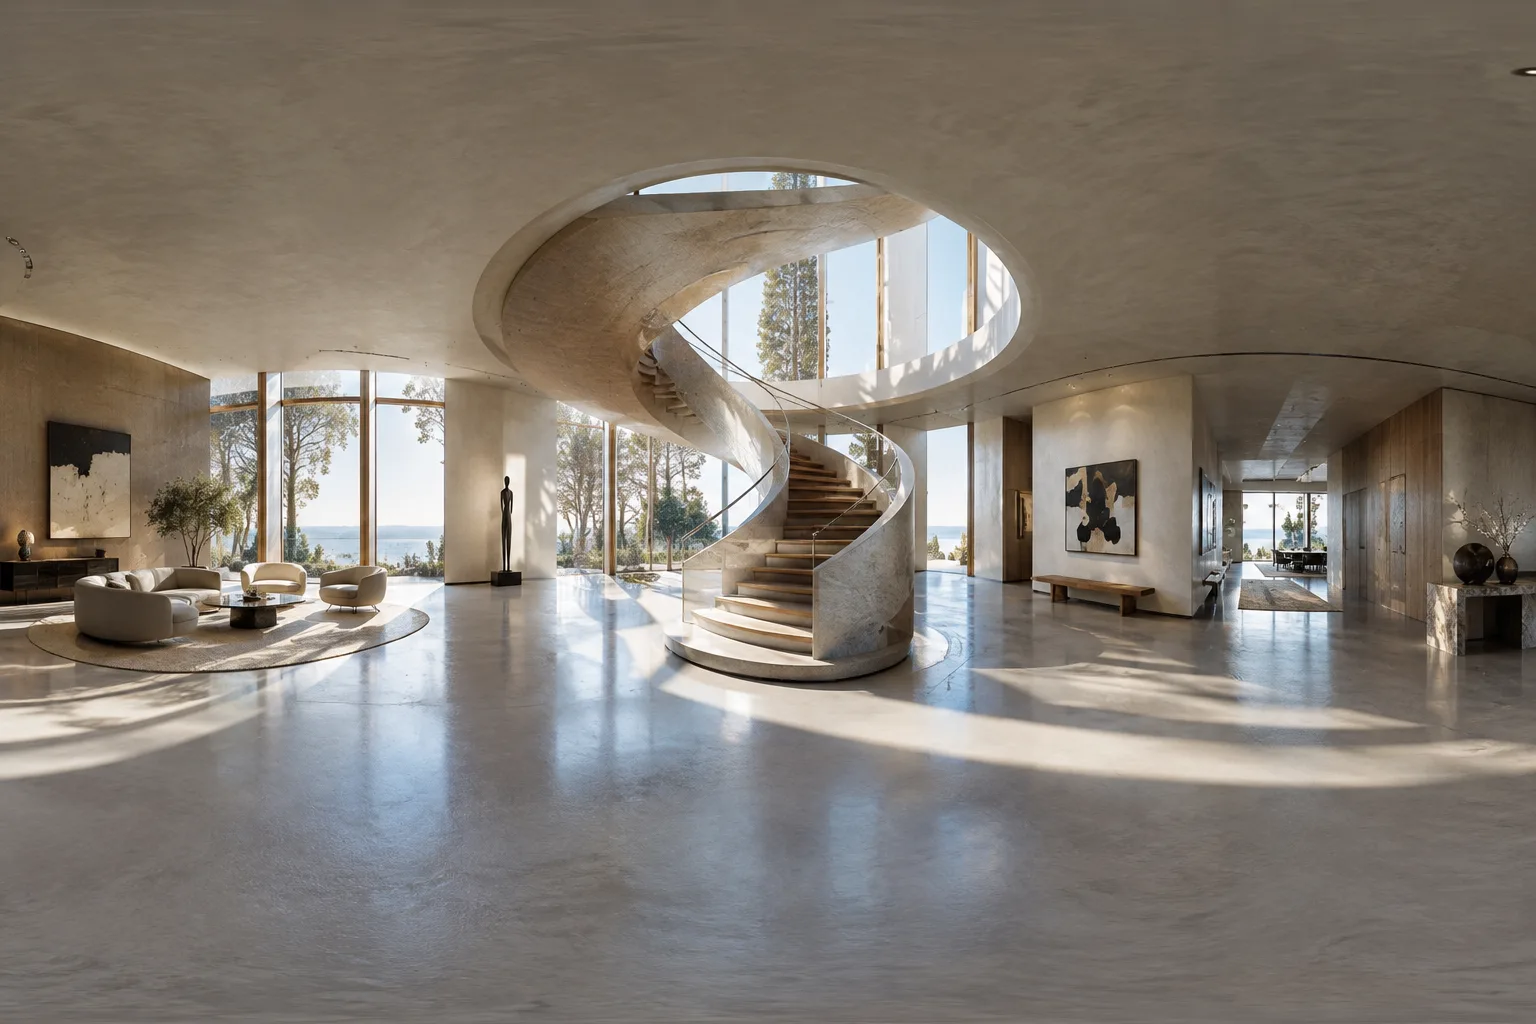
Start by defining your presentation goals. Consider the equirectangular option to show a 360-degree environment in a single panoramic image. This projection covers 360 degrees on the X axis and 180 degrees on the Y axis. This full coverage can be useful for creating environment maps or showing every direction in a scene. If you need a specific horizontal or vertical field of view, use the Latitude Min/Max and Longitude Min/Max limits available for the equirectangular type.
Check the polar regions in equirectangular images. Detail loss can occur at the poles in this projection. If ceiling, floor, or other details at the top and bottom of the scene matter, inspect these areas closely in the render. The source manual notes that the camera rotation may be (90, 0, -90) to match the default environment texture mapping, or that the camera can point along the positive X axis. This orientation note is for environment-map mapping; it shouldn’t be treated as a required camera setting for every architectural scene.
Try equiangular cubemap when pixel distribution is a priority. This type aims to maintain a more balanced distribution of visual resolution across different regions of a spherical environment. It can be an alternative to detail loss at the poles in equirectangular projections and to losses along the edges of cube maps. The manual considers it suitable for virtual reality use cases where more visual detail is needed at limited resolutions. However, this projection doesn’t have longitude or latitude limits; choose another type if you need to restrict the field of view using these limits.
Choose a fisheye option based on your use case. Fisheye Equisolid aims to model real camera lenses more closely and uses focal length and field of view; it also accounts for sensor size. Fisheye Equidistant doesn’t correspond to a specific real lens model, uses the entire sensor area without sensor information, and can be used for full-dome projections. Compare these options if you’re planning a wide-angle view with pronounced distortion or a dome presentation. If you need to match a real camera using a polynomial, Fisheye Lens Polynomial can use fourth-degree polynomial coordinates.
Reserve the mirror ball projection for specific comparisons. Mirror Ball produces a result as if a reflective sphere had been photographed. This method is intended for rare cases where you need to compare against a similar photograph taken to capture the environment. It isn’t a general-purpose option that should automatically replace a standard architectural panorama.
Set the location and naming of render files. The File Path field in the Output panel determines where render frames are saved. In an animation render, the frame number is appended to the end of the filename with four-digit zero padding; for example,
image0001.png. You can use#characters in the filename to specify custom padding. The manual’simage_##_test.pngexample corresponds to a two-digit frame number. This makes it easier to find frames in order and import them into other applications.Render the animation as an image sequence first. Instead of rendering directly to a video format, start with separate images such as PNG, or use OpenEXR for higher quality. If a render is interrupted, you can resume from the frame where the problem occurred; you can also try different video encoding options without re-rendering the entire scene. The images can later be assembled in the Video Sequencer as an Image Strip. According to the manual, animation renders are written to the output path by default, while still renders aren’t saved automatically; you can save a still image from the Image Editor or use a File Output Node.
Check video settings at the final stage. For video output, container, codec, and compression choices balance file size, compatibility across platforms, and playback quality. Some container and codec combinations may be incompatible, and codecs may have size limitations. Increasing color depth can improve color precision, but also increases memory use, and not every file format supports all options. Reprocessing a lossy compressed file can make compression artifacts visible, so leave lossy video formats until the final delivery stage.
Common Mistakes
Assuming it’s a malfunction when the panoramic camera isn’t visible in Solid view: the manual states that these camera types don’t work in non-rendered viewport modes.
Overlooking changes in detail at the poles of an equirectangular image: inspect the render, including the top and bottom regions, and compare projections if needed.
Assuming still renders will be saved automatically: save the image separately or use a suitable File Output Node.
Rendering long animations directly to a video file: create an image sequence first so you can resume more easily after an interruption and change encoding options later.
Rendering without checking codec and container compatibility or size limits: verify the selected combination and target dimensions before rendering.
Next Steps
First, render equirectangular and equiangular cubemap images from the same camera position and compare detail in the important areas of the space. Try fisheye types when you need a real-lens effect or a dome presentation. For animation delivery, treat image-sequence generation, frame naming, and final video encoding as separate stages. If you need multilayer OpenEXR output, the source manual notes that this option can store all inputs in one file; Render Cache can also be used to improve performance in intensive compositing work.
Sources and License
This tutorial is adapted into Turkish from the Blender Manual’s “Cameras” and “Output” guides. Both sources are published under the CC BY-SA 4.0 license.
Sources
2 sourcesSource texts are not republished; short quotes are marked, everything else is our own summary and commentary.
For architecture firms and visualization teams in Turkey, the most practical advantage of this workflow is separating render production from video encoding. For long scenes, an image sequence reduces the risk of having to restart the entire animation after an interruption, while also making it possible to try different delivery settings later.
The choice of panoramic type should match the presentation goal: showing the full environment and creating a particular lens effect aren’t the same need. Output format, color depth, and encoding choices can affect file size and memory requirements. Teams should test compatibility and intended use before delivery; the sources don’t specify hardware or license requirements.
Frequently asked questions
Which render engine supports panoramic cameras in Blender?
According to the source manual, panoramic camera types are supported by Cycles. These cameras aren’t shown in non-rendered viewport modes.
Does Blender automatically save animation renders?
The manual states that by default, animation frames are written to the specified output path, while still renders aren’t saved automatically. You can save a still image from the Image Editor or use a File Output Node.
Why should I render a Blender animation as an image sequence first?
With an image sequence, you can resume from the frame where rendering was interrupted. You can also try different video encoding options without re-rendering the scene.