In brief
- LayOut’s built-in scrapbooks include architectural elements, arrows, color palettes, figures, symbols, title block templates, and trees.
- To create a custom scrapbook, add items to a new LayOut document and choose File > Save As Scrapbook.
- The Style tool can sample and apply styles to shapes, images, text boxes, SketchUp model entities, and scrapbook items.
- On Windows, you can create custom panel trays; on macOS, panels can be arranged and grouped as separate windows.
SketchUp’s official LayOut help documentation, updated on 29 September 2026, explains how to reuse layout elements, transfer styles to other objects, and arrange panels to suit your workspace. This guide adapts the documented features for architectural drawing and presentation workflows. Because the help pages do not specify a particular LayOut version number, the steps below are limited to the LayOut functions described in the documentation.
1. Arrange panels to suit your workflow
LayOut panels cover a range of tasks, from color and pattern fills to text and dimension formatting, SketchUp models, and page and layer management. Keeping frequently used panels together can reduce the need to search around your workspace for the settings you need. For example, keep the Pages and Layers panels accessible when managing drawing sheets and layers, and the SketchUp Model panel nearby when adjusting a model view.
On Windows, create a custom panel tray as follows:
Open
Window > New Tray.Enter a name for the tray and select the panels you want to add.
Click
Add. You can access the new tray from the Window menu.Select trays by their tabs. Drag a tab outside the window to create a separate tray, then use the positioning icons that appear to place it in your workspace.
On macOS, panels are not arranged in trays as they are on Windows. They open as separate windows from the Window menu. With at least two panels open, drag one panel’s title bar beneath another to create a stack. You can also choose Window > Arrange Panels to arrange all panels together. Click a panel’s title bar to show or hide it in the stack, or drag the title bar to separate it from the stack.
2. Store reusable elements in a scrapbook
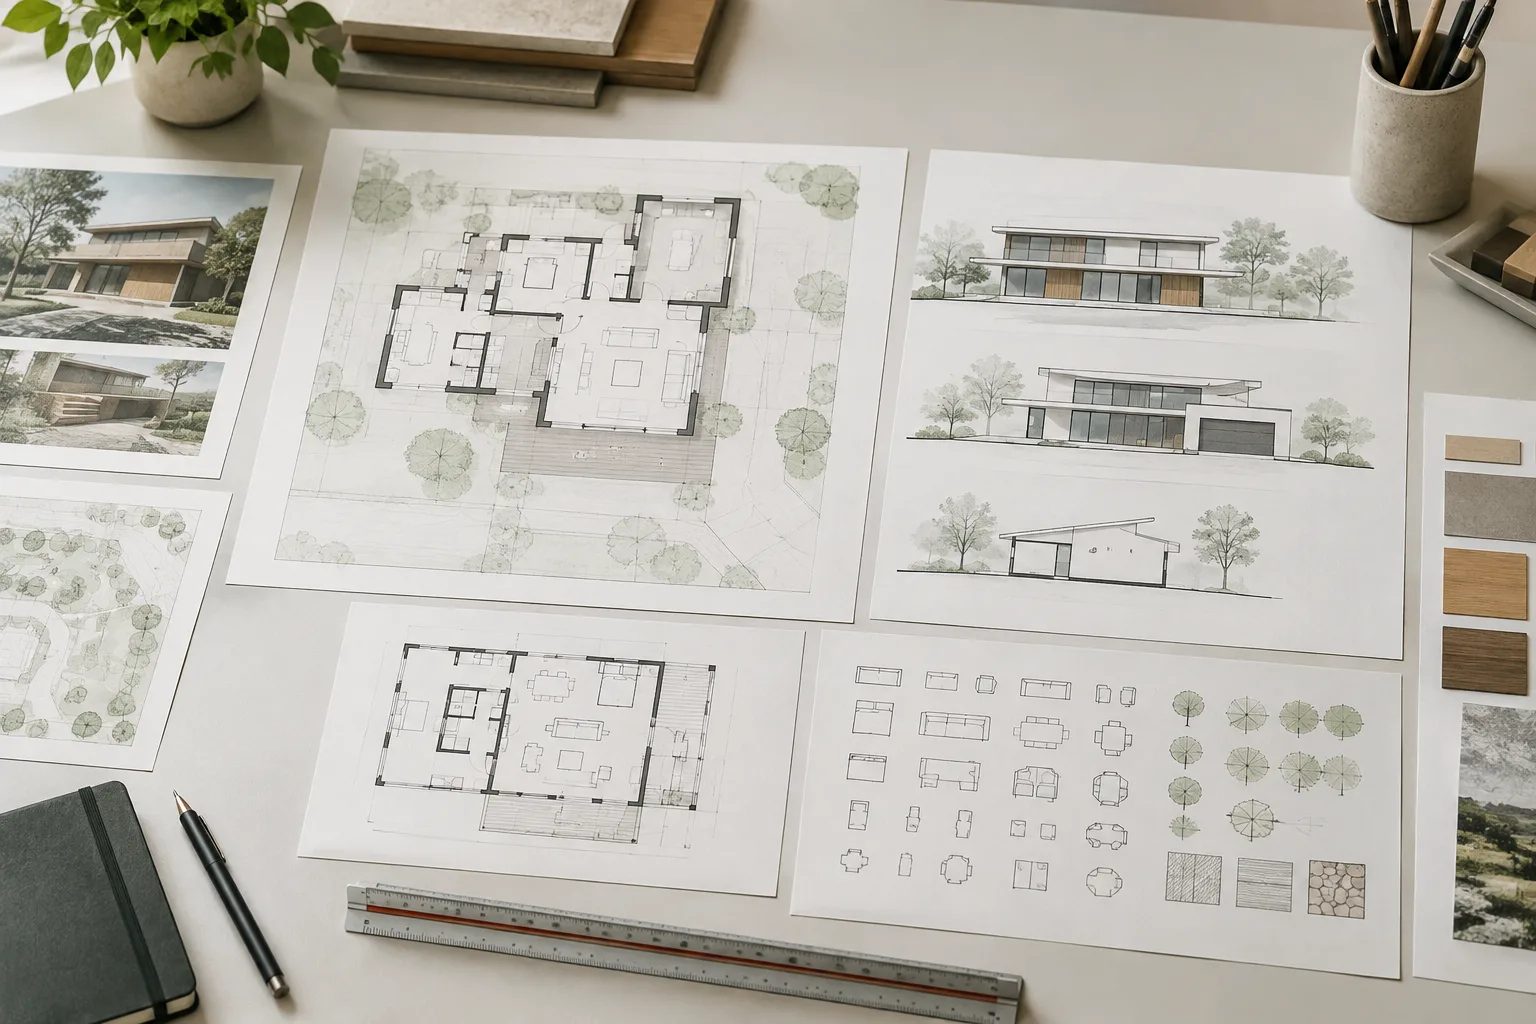
The Scrapbook panel gives you access to built-in and custom visual elements for use in LayOut documents. Built-in options include architectural elements, arrows, vehicles, color palettes, people, symbols, title block templates, and trees. Architectural content includes doors, doors with wall masking, windows, and elements associated with different spaces. People and trees are also available in plan and elevation views.
Unlike individual graphics, title block scrapbooks consist of templates. The documentation lists line weights, drawing references, sections and elevations, column grids, site plan graphics, auto-text, and sheet indexes among the contents of these templates. If the built-in options don’t meet your needs, you can collect elements you’ll reuse across projects in your own scrapbook:
Create a new LayOut document and add the items you want to store.
Choose
File > Save As Scrapbook.Enter a name to display in the Scrapbook panel and specify the Scrapbook Folder where it will be saved.
Click
Save. You can create and manage Scrapbook Folders in Preferences.
To add an item to a document, open the relevant scrapbook in the Scrapbook panel, find the item, and drag it onto the document area. To add multiple copies of the same item, click the item, then click in the document once for each copy. If a scrapbook has multiple pages, use the page navigation controls at the top of the panel to move between pages in the same category.
To update an existing scrapbook, select it in the panel and click Edit. After the scrapbook file opens in the document area, make your changes and save them with File > Save. This keeps the updated version of the elements used by your team in the scrapbook file.
3. Transfer styles with the Style tool
The Style tool samples an item’s style settings and applies them to another item. Select it from the main toolbar or go to Tools > Style. Click the item whose style you want to sample, then click the item to which you want to apply the formatting. Press Esc to start the operation again. The tool works with shapes, images, text boxes, SketchUp model entities, and scrapbook items.
The settings sampled vary by object type. When you sample a dimension, the Shape Style, Text Style, and Dimension Style panel settings are also sampled. After applying the style, you can edit the extension line style, dimension line style, and offset distance. For a text box, the Shape Style and Text Style settings are sampled. For a SketchUp model, the tool also samples scale, rendering mode, shadows, fog, and style information.
Sampling an object with a pattern fill also captures the pattern’s origin. This can help align pattern fills across separate surfaces in an elevation, for example. When a style with a fill is applied to a SketchUp model entity, the fill appears over the model’s background. The stroke is applied to the shape’s edge or to the bounding box of an image, text box, SketchUp model entity, or scrapbook item.
You can also apply an existing style directly when creating a new item. The Style tool’s default shortcut is B. For example, if a dimension created with the Linear Dimension tool doesn’t have the formatting you want, press B to activate the Style tool, sample a suitably formatted dimension, and click the new dimension. Keep in mind that sampling a dimension can transfer settings from multiple panels.
4. What to consider in an architectural layout workflow
Scrapbooks let you collect elements for reuse in drawings in one place. Preparing custom content in a LayOut document and saving it as a scrapbook can reduce the need to recreate the same elements in different documents. The official documentation notes that Scrapbook Folders can be shared and that LayOut files shared with others can be converted into scrapbooks. This allows teams to organize the elements they use in a shared folder structure.
The Style tool transfers formatting between objects. It can help maintain a consistent look across drawings, but the settings transferred vary by object type. In particular, check the relevant line, scale, or view settings after applying a style to dimensions and SketchUp model entities. When arranging panels, also account for differences between operating systems: Windows uses custom trays, while macOS uses grouped panel windows.
Common mistakes
Searching the wrong page in a multi-page scrapbook; use the page navigation controls at the top of the panel.
Assuming the Style tool transfers only fills and lines for every object; dimensions and model entities can also inherit additional panel settings.
Looking for the Windows-specific
Window > New Traycommand on macOS; panel management works differently there.Closing an edited scrapbook without saving it; choose
File > Saveto keep your changes.
Sources
3 sourcesSource texts are not republished; short quotes are marked, everything else is our own summary and commentary.
Scrapbooks can be a practical way for offices and visualization teams to organize layout elements they prepare repeatedly across different documents. Shareable Scrapbook Folders can also make it easier for teams to access the same content. The Style tool can speed up formatting, but because it may transfer multiple settings for dimensions and model entities, it’s important to check the results.
The official help pages don’t provide information about hardware requirements, so no conclusions about this workflow’s hardware impact can be drawn from them. For offices in Turkey, the key is to confirm that the menus and tools in the LayOut installation match the documented steps, and to explain the different panel workflows for Windows and macOS separately within the team.
Frequently asked questions
How do you create a custom scrapbook in LayOut?
Add the items you want to use to a new LayOut document. Then choose `File > Save As Scrapbook`, enter a name, select a Scrapbook Folder, and save.
Which items does the LayOut Style tool work with?
It can sample and apply styles to shapes, images, text boxes, SketchUp model entities, and scrapbook items. The settings transferred vary by item type.
How do you arrange LayOut panels on Windows and macOS?
On Windows, use `Window > New Tray` to create a custom panel tray. On macOS, panels open as separate windows and can be dragged together into a stack.